REVIEW · WHISTLER
Whistler Zipline Experience: Ziptrek Bear Tour
Book on GetYourGuide →Operated by Ziptrek Ecotours, Whistler · Bookable on GetYourGuide
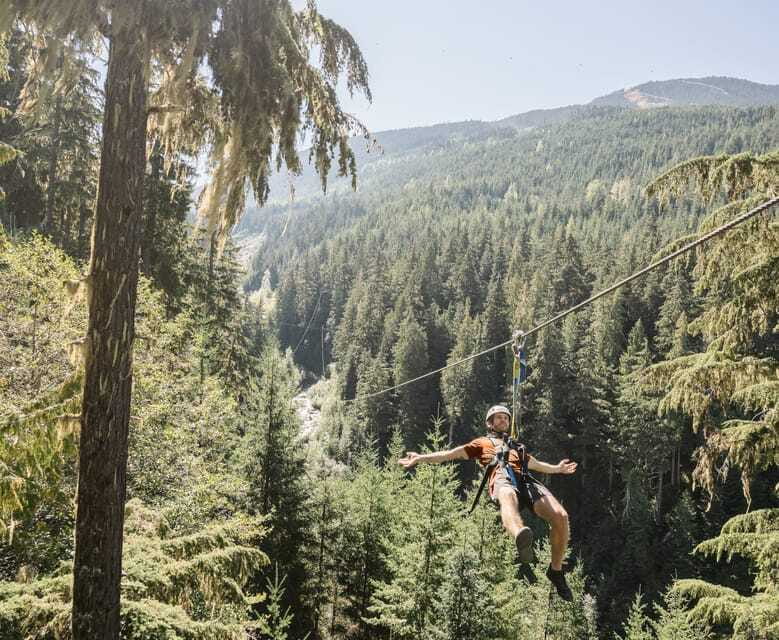
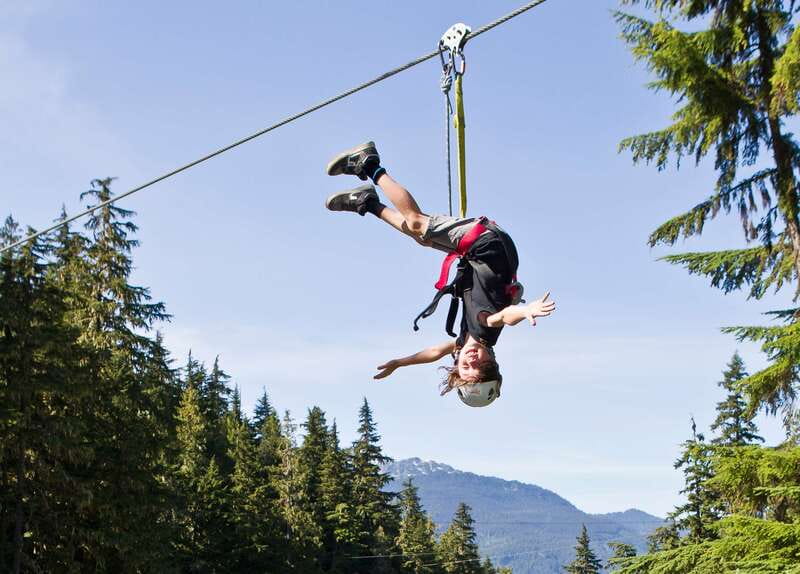
Whistler’s best way to get vertical is with zipline boots on. The Ziptrek Bear Tour puts you in the Old Growth Coastal Temperate Rainforest with a win-in-your-hair ride that also feels grounded, because you learn the local ecology as you fly. You’ll even have time to try something a little different, like ziplining upside down.
What I love most is the mix of big views and real scenery details. You get stunning sights over Fitzsimmons Creek and the chance to walk out to the suspension bridge for a hello to Big Doug, then you’re zipping on a course that runs between Blackcomb and Whistler. The second big win is the variety of the ziplines: four runs ranging from about 400 ft up to 1100 ft, so the experience builds instead of feeling one-note.
One consideration: this is only 150 minutes and it’s not the cheapest thrill, so if you’re chasing a long, all-day adrenaline fest, you might want to match your expectations to a short-but-sweet set of four ziplines. The tour is also weather-dependent in the sense that it operates in all conditions, so dress like you mean it.
In This Review
- Key things to know before you go on Ziptrek Bear Tour
- Carleton Lodge check-in and the ride into zipline country
- Gear-up basics: what to bring, what to expect, and why it matters
- The 33-acre rainforest playground and meeting Big Doug
- Olympic track views on the way up: a quick, fun contrast
- The zipline course: four rides, zig-zag terrain, and that 1100 ft moment
- Upside-down ziplining: when you want a little extra fun
- Guides keep it calm, clear, and family-friendly
- GoPro rental: how to capture the flight without fiddling
- Price and value: is $115 worth it?
- Who this zipline tour fits best
- Simple tips to make your day smoother
- Should you book the Ziptrek Bear Tour?
- FAQ
- Where is the Ziptrek Bear Tour meeting point in Whistler?
- How long is the Zipline Experience?
- What’s included with the tour price?
- How many ziplines are on the course, and how long are they?
- Is there an upside-down zipline option?
- What do I need to wear?
- Is the tour suitable for children?
Key things to know before you go on Ziptrek Bear Tour
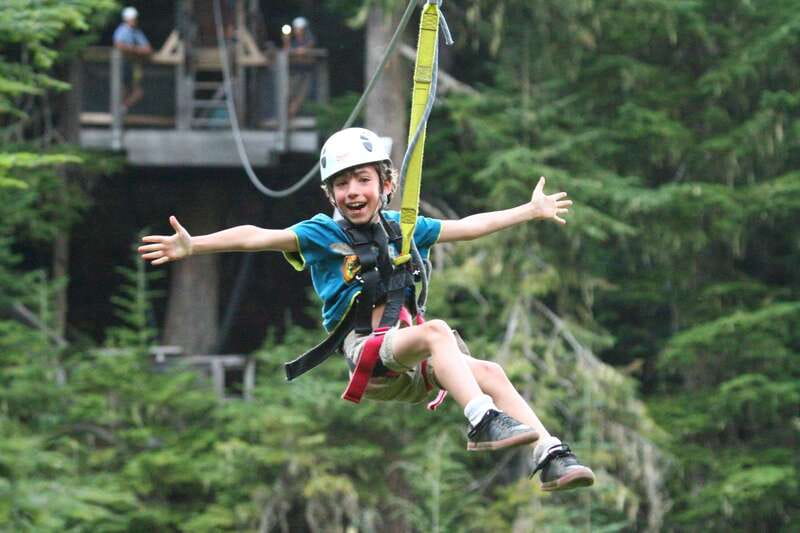
- Old-growth rainforest course with a natural-history feel as you move through the trees
- Four ziplines (400–1100 ft) with zig-zag movement over Fitzsimmons Creek
- Suspension bridge to Big Doug, the oldest Douglas Fir on site
- Up-close Olympic 2010 bobsled and luge track views during the ride up
- Small group (up to 10), which keeps the pace relaxed
- Tandem zip and upside-down option for riders who want a different twist
Carleton Lodge check-in and the ride into zipline country
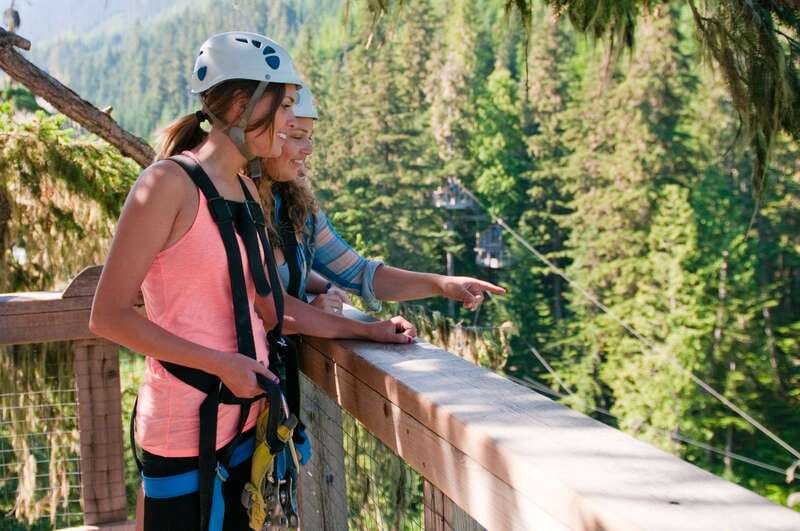
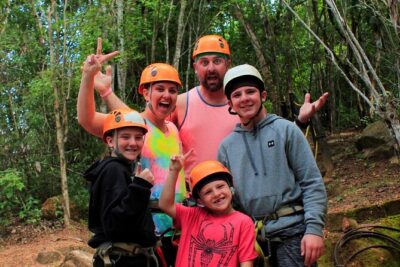
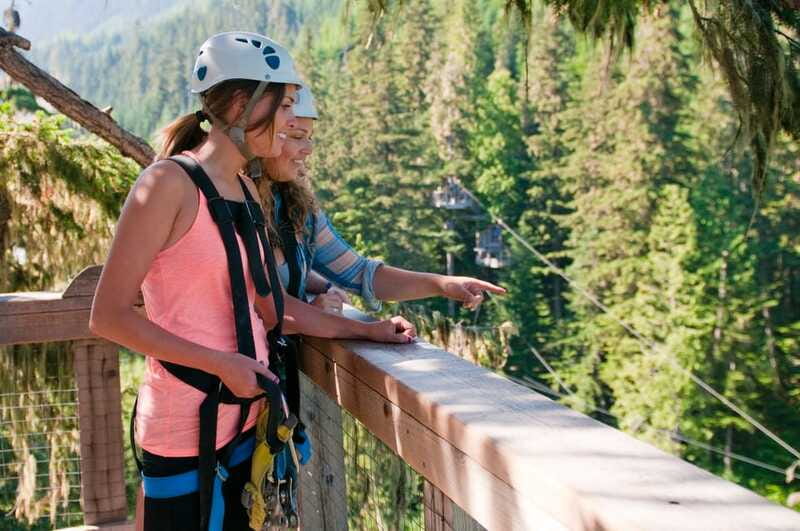
Your day starts in Whistler’s main village at Carleton Lodge, just across from the Whistler Village Gondola. The storefront is on the left as you climb the front steps to the main building entrance. From there, you’ll check in, then meet your guides to get geared up with the helmet and harness.
Then you hop on a shuttle. This part matters more than you might think, because it sets the tone: you’re not just being transported to a platform. The shuttle ride takes you toward the valley playground between Whistler and Blackcomb, and it includes the kind of quick scenic moments that make Whistler feel like itself—mountains, forest, and a sense of place.
On the way up, you’ll get close views of the 2010 Olympic bobsled and luge track. It’s a nice way to tie Whistler’s winter sports legacy into a different kind of thrill. You’ll be looking at that track while heading toward your rainforest runs, which makes the whole experience feel more than just a ride.
Gear-up basics: what to bring, what to expect, and why it matters
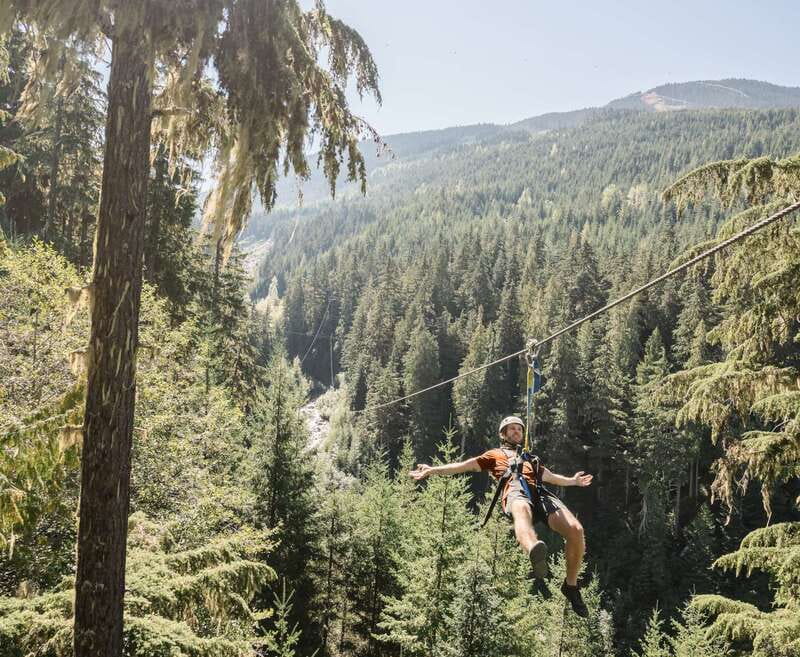
The tour provides what you need for safety: helmet and harness, plus a professional guide team. You just need to show up ready to move.
Bring closed-toe shoes. The tour won’t work for people who wear open-toed footwear. You’ll also be doing stair climbing and trail walking, so wear shoes you trust on uneven ground.
A big practical note: the tour operates in all weather conditions. That doesn’t mean you have to wear fancy winter gear, but it does mean you should expect misty forest air or wind off the valley. If you tend to get cold easily, plan for layers. If you think you can tough it out in sandals, don’t—closed-toe footwear is required for a reason.
If you’re booking for kids or teens, the weight and age rules are important:
- The tour is suitable for ages 6 and up
- Minimum weight to zip is 65 lbs (29 kg)
- Riders under 15 need a guardian; minors 18 and under require a guardian signature
- If kids are under 65 lbs, they may be able to tandem zip with a guide
Also: the tour isn’t suitable for pregnant women or for people with mobility impairments, and there’s a max weight limit of 275 lbs (125 kg).
The 33-acre rainforest playground and meeting Big Doug
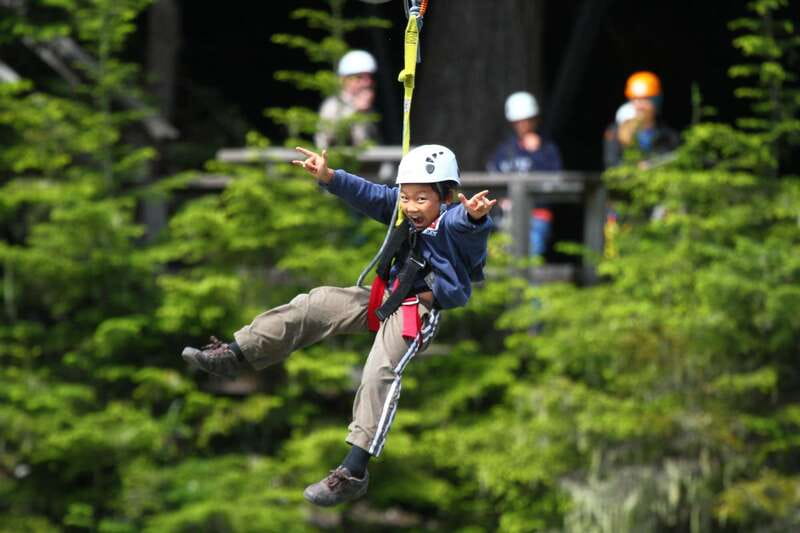
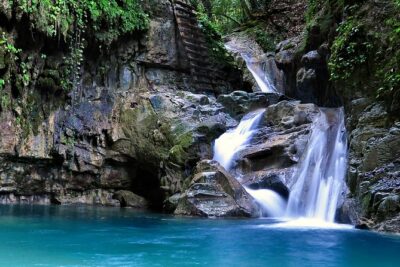
Once you’re in the zipline area, you’re working with a real chunk of terrain: a 33-acre playground in the valley. You’re not zipping in an empty lot. You’re moving through a forest environment that’s described as old growth, and you’ll feel it in the way the course sits among large trees and creek-adjacent terrain.
Before you launch yourself into the air, you’ll take a walk on a suspension bridge to say hello to Big Doug, the oldest Douglas Fir tree on site. This is one of those stops that slows the tempo in the best way. It gives you a ground-level moment to look around before you commit to heights and wind.
Why that matters: once you start zipping, your brain turns into two modes—fear management and enjoyment. The bridge stop helps you shift into the right headspace. You get a reminder that you’re in a living forest, not just a rig with cables.
It’s also where the tour’s ecology teaching gets real. You’ll learn local ecology and community details while you’re on the property. Even if you’re not usually the nature-book type, the way it’s folded into the experience helps it land.
Olympic track views on the way up: a quick, fun contrast
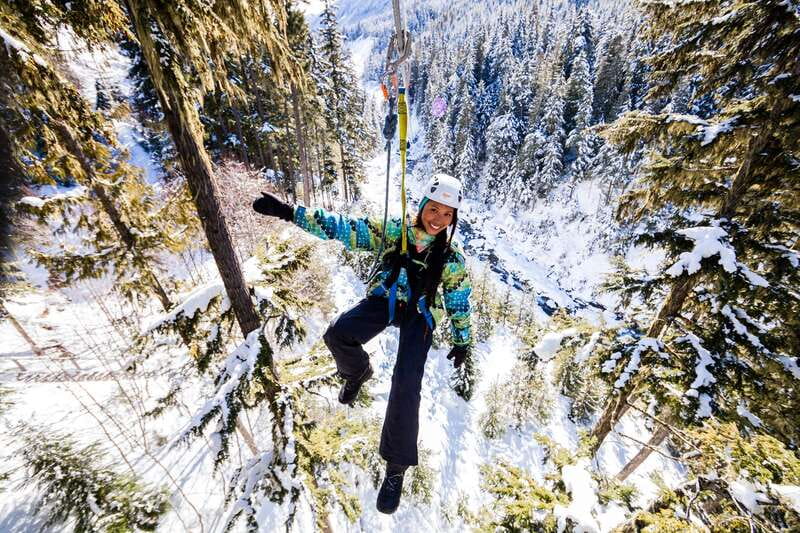
Here’s a detail I really like: you don’t go straight from Whistler village into the trees. You pass by Olympic 2010 bobsled and luge track sights on the approach to the course.
That contrast is useful. Whistler can feel like a single themed place if you only focus on one side of it. The Olympic track gives you a quick hit of modern sporting Whistler, then the rainforest brings you back to the older, quieter ecosystem side. The result is a tour that feels like it belongs in Whistler, not pasted onto it.
The zipline course: four rides, zig-zag terrain, and that 1100 ft moment
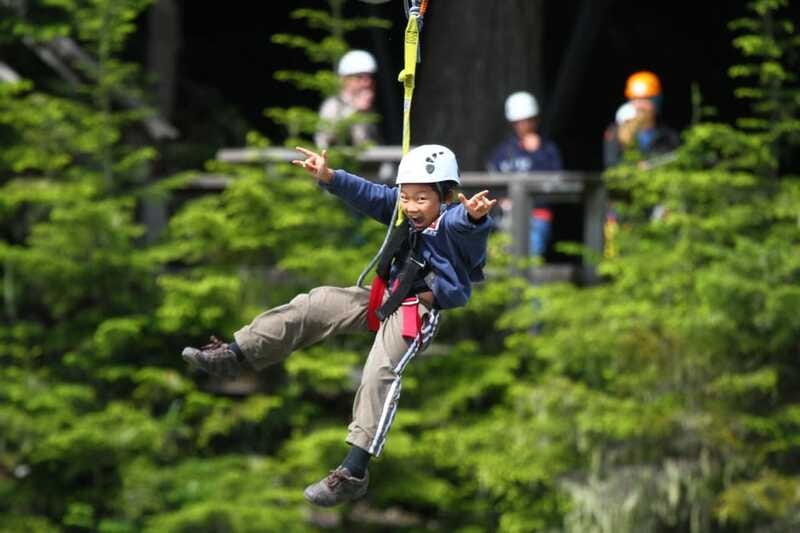
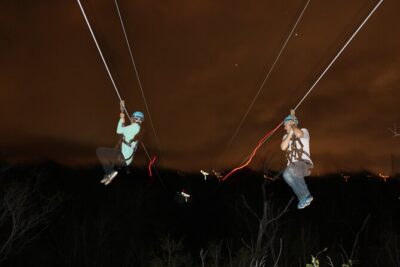
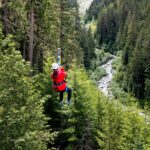
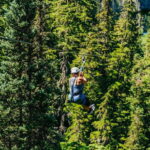
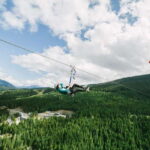
Now for the main event: a series of four ziplines that stretch from about 400 ft to 1100 ft. The course is designed to zig-zag as you travel from Blackcomb to Whistler, crossing above Fitzsimmons Creek.
That zig-zag path matters because it changes what you see. Instead of a single straight run where your eyes only lock forward, you’re constantly adjusting—left, right, and down toward the creek corridor. It feels less like a conveyor belt and more like a flight path.
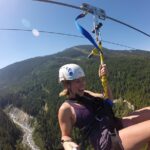
The 1100 ft zipline is the headline, and it earns it. At that height and speed, you feel the wind in a real, physical way. Your body notices the motion before your brain catches up. That’s also where the guides help the most: they keep instructions clear, and they keep the energy steady so you can focus on enjoying the ride.
The other rides add structure. The shorter ones help you get confident with the harness and line timing before you hit the longest stretch. It’s the kind of progression that works well for first-timers, and it’s why this tour often feels friendly for families and mellow zippers.
Upside-down ziplining: when you want a little extra fun
One of the highlights from this experience is the option to zipline upside down. If you’re curious about trying something playful beyond the standard forward flight, this is your chance.
Even if you’re nervous about it, you’ll be in a guided setting with proper gear and instruction. The value here isn’t just the stunt. It’s that the tour gives you permission to have a slightly different kind of moment, not only a scenic one.
Guides keep it calm, clear, and family-friendly
A big part of why this tour lands well is the guide style. On a zipline, technical gear and safety checks matter, but how people communicate is just as important.
You’ll be with professional tour guides throughout, and the vibe tends to stay calm and approachable. That makes it easier to relax into the experience, especially if you’re traveling with kids, extended family, or friends who aren’t sure about heights.
Also, the group stays small: limited to 10 participants. That can mean shorter waits between rides and a more personal feel overall. It doesn’t turn into chaos, and it’s easier for the guides to check in with you quickly.
GoPro rental: how to capture the flight without fiddling
You get a GoPro video camera rental included. That’s a big practical win because you won’t be stuck trying to hold your phone while clipped into a harness.
You can purchase the footage if you want to keep it. Even if you don’t end up buying it, the rental itself helps you remember that the views were real and the wind was real—not just a blur of adrenaline.
Tip: bring your attention to the moment instead of trying to film everything. Let the camera do the work, and use your senses for the scenery.
Price and value: is $115 worth it?
At $115 per person for about 150 minutes, this tour sits in the mid-to-higher range for an activity. But value depends on what you want.
If you want:
- a guided experience with full equipment,
- four distinct ziplines that step up from 400 ft toward 1100 ft,
- rainforest scenery plus the Big Doug bridge moment,
- and roundtrip shuttle from the main village area,
…then the price starts to look fair. You’re paying for access to a specialized course and staff who can run you safely through it in small groups. The included equipment and GoPro rental help too. This isn’t a DIY activity, and that’s part of the cost.
If you’re mainly chasing the longest time aloft, you might feel like it’s short. But if you want a well-paced, high-impact Whistler experience with a strong scenery component, 150 minutes can actually be the sweet spot.
Who this zipline tour fits best
This is a great fit if you:
- want a classic Whistler outdoors thrill with a rainforest setting,
- like guided nature learning without it turning into a long lecture,
- are traveling as a family group or friends and want a smaller group size,
- are comfortable with short trail walks and stairs.
It’s also well-suited for “mellow zippers” because the course gives you progression. You get confident with the equipment and technique before the longest run.
If you’re not a fit, it’s usually due to the rules: mobility limitations, pregnancy, open-toe shoes, over the weight limit, or not meeting the minimum age/weight. Don’t force it. That’s how people stay safe and actually enjoy the day.
Simple tips to make your day smoother
Zipline days feel easy when everything clicks. A few small choices help:
- Wear closed-toe shoes you can walk in comfortably on stairs and trails.
- Dress for wind and weather since it operates in all weather conditions.
- If you’re bringing kids, check the 65 lbs minimum closely and plan for tandem if needed.
- Expect real movement: stairs and trail walking aren’t optional.
- If you want the upside-down option, decide beforehand so you don’t freeze at the platform.
And mentally? Treat it like a series of chapters: gear-up, bridge, then four rides that build. Once you see it that way, you stop thinking about the whole thing at once, and you enjoy each portion.
Should you book the Ziptrek Bear Tour?
I’d book the Ziptrek Bear Tour if you want a Whistler highlight that blends big views with a real rainforest setting and a guided, calm experience. The course design—four ziplines that escalate from about 400 ft to 1100 ft—makes it fun even if you’re not a thrill-seeker. Add the suspension bridge stop for Big Doug, plus those Olympic track views on the way in, and you’re getting more than just cables and speed.
I would think twice if you’re sensitive to weather (since it runs in all conditions), need an accessible route, or you’re hunting for a long, extended adrenaline session. For many people, though, 150 minutes hits the target: enough time to feel it, not so long that you lose energy.
If you’re deciding today, the safest call is to match your expectations to the format: short, guided, scenic, and geared to get you zipping quickly.
FAQ
Where is the Ziptrek Bear Tour meeting point in Whistler?
Check in at Carleton Lodge in Whistler’s main village, across from the Whistler Village Gondola. The retail storefront is on the left as you climb the front steps to the main building’s entrance.
How long is the Zipline Experience?
The duration is 150 minutes.
What’s included with the tour price?
It includes professional tour guides, all necessary equipment (helmet and harness), GoPro video camera rental (footage available for purchase), and roundtrip transportation to the tour area and back.
How many ziplines are on the course, and how long are they?
The tour includes a series of four ziplines, ranging from about 400 ft up to about 1100 ft.
Is there an upside-down zipline option?
Yes. You can experiment with ziplining upside down during the tour.
What do I need to wear?
Bring closed-toe shoes. Open-toed shoes are not allowed.
Is the tour suitable for children?
The tour is suitable for ages 6 and up. Children under 65 lbs may be able to tandem zip with a guide. Riders must also meet the minimum weight requirement of 65 lbs to zip without a tandem arrangement, and minors 18 and under need a guardian signature on their waiver.