REVIEW · QUEENSTOWN
Small-Group Zipline Adventure in Queenstown
Book on Viator →Operated by Ziptrek Ecotours · Bookable on Viator
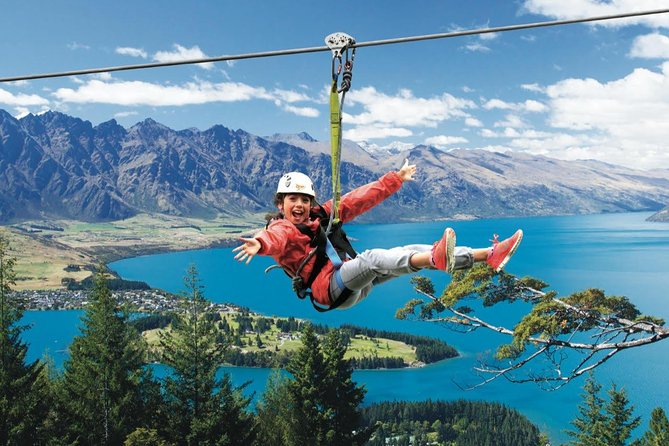
A mountain zipline with big Queenstown views. This small-group Ziptrek adventure sends you off from the Skyline Gondola area and across forest canopy with the world’s steepest tree-to-tree zipline feel, high above Lake Wakatipu.
I love the two-professional-guide setup, with instructors who pace things for nervous first-timers and keep the energy fun. And I love the views, especially the long looks over Lake Wakatipu and the Remarkables as the beech forest flies by.
One thing to plan carefully: the Skyline Gondola ticket is extra, and you should allow enough time to get up to the top terminal before your check-in.
In This Review
- Key things to know before you go
- Skyline summit to forest canopy: the setup that makes this feel different
- Courses for different courage levels: Ecotour, Kea, and Kereru
- The two-hour rhythm: what actually happens after check-in
- Safety without the boring lecture: why the guides matter
- Views over Lake Wakatipu and the Remarkables: what you’ll see while you fly
- What to wear and bring: make it easy on your feet and your body
- Price and value: is NZ$73.85 worth it with the Gondola add-on?
- Who should book this zipline in Queenstown (and who should skip it)
- Small-group reality check: logistics that can make or break the day
- Should you book Ziptrek Treehouse ziplining from Queenstown?
- FAQ
- Where is the meeting point for this zipline tour?
- What is included in the $73.85 per person price?
- How long does the tour take?
- Do I need a Skyline Gondola ticket?
- What are the three tour options?
- Are there weight limits for the ziplines?
- What should I wear?
- Are there age limits or requirements for minors?
- What is the cancellation policy?
Key things to know before you go
- Launch from the Skyline Gondola summit area at Ziptrek Treehouse, not from down in town
- Three course choices let you match your courage level, including the Kereru with a 68-foot (21-meter) drop
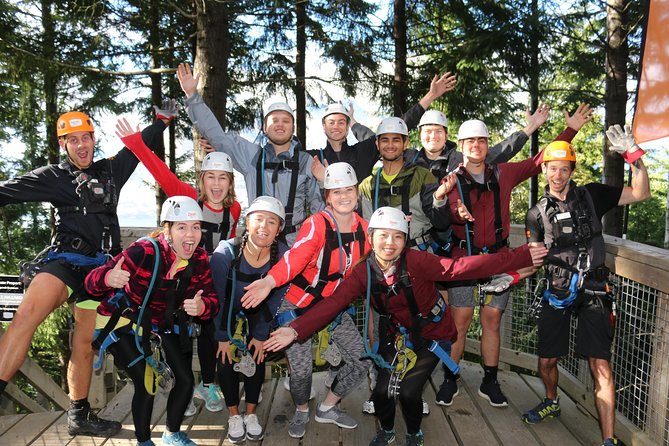
- Max group size is 10 with two professional guides helping keep things smooth and personal
- All safety equipment is included, plus hats and gloves in winter
- You’ll get a quick history and ecology briefing before you fly, so it feels more like an eco-adventure than a thrill ride
- Bring closed-toe shoes and extra layers, because it can be chilly up there even when Queenstown feels sunny below
Skyline summit to forest canopy: the setup that makes this feel different
Queenstown is famous for adrenaline, but I like how this tour starts where the views are already working in your favor. You meet at Ziptrek Treehouse at the top of the Skyline Gondola, so right away you’re above the traffic, above the noise, and looking down at Lake Wakatipu and the surrounding ranges.
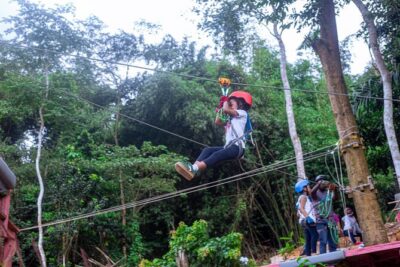
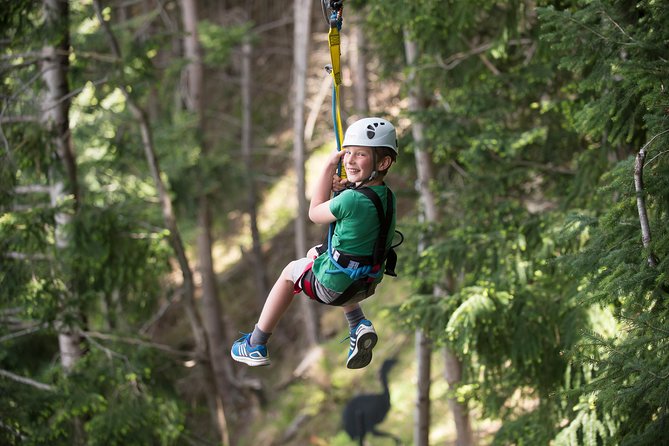
The zipline itself is the headline, but the “how” matters. You’re launched from aerial tree-house platforms into a beech forest route, which means the scenery stays close and natural rather than feeling like you’re flying over empty land. In winter, that extra “up high” cold is real, so it helps that hats and gloves are included.
Courses for different courage levels: Ecotour, Kea, and Kereru
You get three different tour options, and that’s where the value hides for different types of travelers. If you want a first-timer introduction, you can choose the course that tones down the adrenaline a notch while still delivering the long, tree-to-tree feeling. If you’re chasing the bigger moment, you’ll want the more intense choice.
Here’s how the tour options break down in a practical way:
- Kereru: the one with a thrilling 68-foot (21-meter) drop. This is the course for when you want the “oh wow” moment to come early and loud.
- Kea: one of the options designed for a broader range of participants, but it has a minimum weight of 30kg (66lbs). So if you’re at the low end, confirm your fit before you commit.
- Ziptrek Ecotour: the flexible option for many visitors who want the forest canopy thrill without overshooting their comfort level.
You may notice that different people end up doing different numbers of lines. In the experience feedback I read, some folks describe doing 4 lines, while others did a 6-line package. The key point for you: pick your course based on how your body handles exposure and how much time you want to spend zipping across the trees.
And no matter which you choose, the guides supervise your launch from each platform. That’s important because it means you’re not left to figure out what to do while your nerves do push-ups.
The two-hour rhythm: what actually happens after check-in
Plan on roughly 2 hours total, and expect a steady flow rather than a chaotic queue. Your day starts at Ziptrek Treehouse, where you’ll check in at the top of the Gondola complex. Before arrival, you must complete a Participant Consent Form using the link in your voucher.
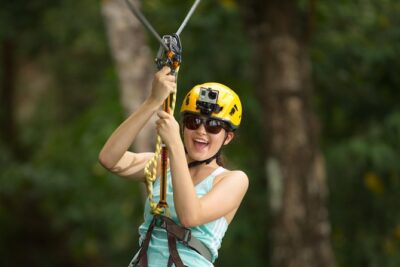
Then it’s equipment and orientation. You’ll get all safety gear included, and you’ll be shown how to handle the launch and the line itself. Guides also brief you on what you’re about to do, and they cover the ecology and history of the forest in between the thrills.
In the feedback, I saw a repeating theme: the experience starts off calmer and then ramps up toward the later lines. That works well for most people because your body learns the rhythm as you go. First line = lessons. Middle lines = momentum. Last lines = confidence (and sometimes that little bit of showoff energy, if your guide is in a playful mood).
Safety without the boring lecture: why the guides matter
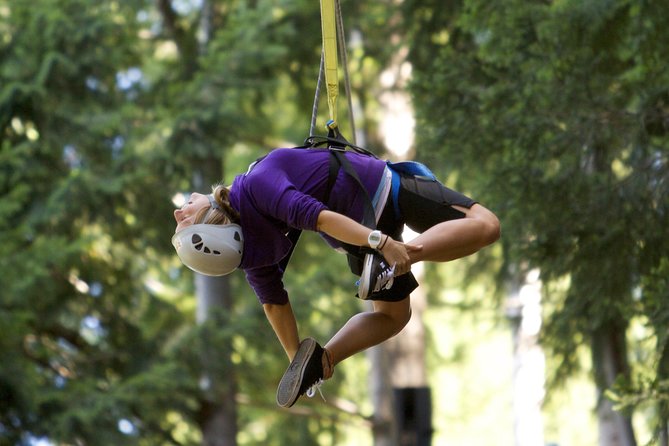
This is one of those tours where safety is built in, but the personality of the guides makes it feel safe in a human way. You get two professional guides, which helps a lot in small groups. One person can run the pace, while the other watches spacing, harness/gear fit, and the little body-language tells that show someone might be scared at the start.
The instructors I saw named in feedback include Nic and Jacob, Emily and Nick, and Rhys and Pearl, plus Ava, Nic, Mitchell, Helena, and Shazz. Across those accounts, the same pattern shows up: clear instructions, a light sense of humor, and patience when someone is afraid of heights. That’s a big deal for you if you’re nervous but curious. You’re not just wearing a harness; you’re being coached through the first moment of exposure.
Also, the gear inclusion helps you travel smarter. You’re not hunting for gloves or trying to borrow someone’s spare jacket at the last second. In winter, the tour includes hats and gloves, and they still recommend you bring an extra layer year-round.
Views over Lake Wakatipu and the Remarkables: what you’ll see while you fly
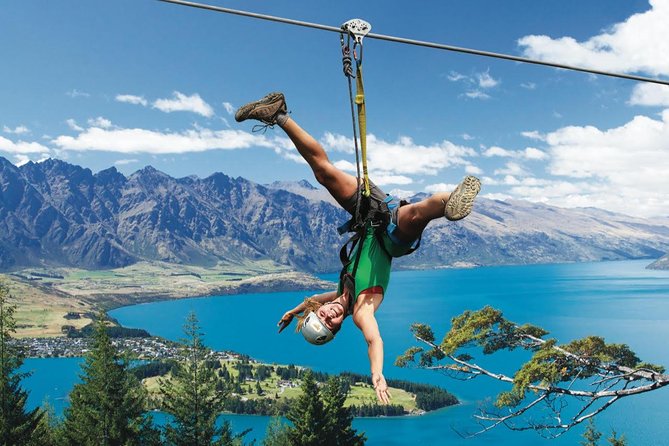
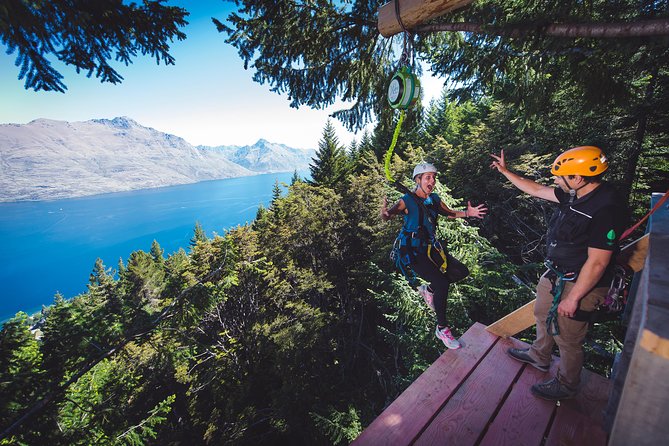
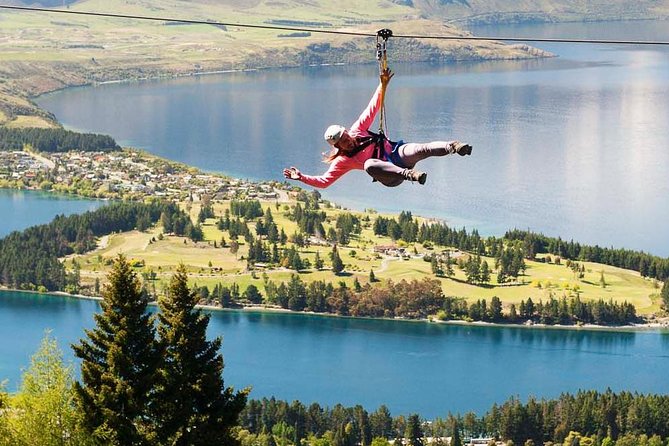
The best part of Queenstown adventure days is often the “where am I” moment when you get a new angle on the lake and the mountains. This tour gives you that from high up: you’re launched from the Skyline side and ride down through canopy while the panoramic mountain and lake views stay in frame.
Lake Wakatipu is the visual anchor. You’ll also see the Remarkables mountain range, often with a snow-capped look depending on the season. The beech forest route keeps the ride feeling close and alive rather than just high and distant.
One practical note: since you’re above the trees for portions of the route, it can feel faster than you expect. That’s part of the fun. If you’re trying to manage motion sickness or strong dizziness, focus on a steady gaze and listen to the guide’s timing cues.
What to wear and bring: make it easy on your feet and your body
This is a “show up ready” kind of day. The tour requires closed toe shoes and says no sandals, flip flops, or heels. If you wear sneakers, good. If you wear boots, also good.
The tour also recommends:
- An extra layer of clothing year round
- A jacket and hat in cooler weather (and gloves are included in winter)
- Staying comfortable so you can focus on the ride, not on cold hands or tight gear
I’d add one more practical tip from how these days usually go: bring a layer that you can actually move in. You’ll likely be adjusting harness comfort and standing in a cool breeze. If your jacket is bulky and stiff, it can slow you down.
Price and value: is NZ$73.85 worth it with the Gondola add-on?
The listed price is $73.85 per person, and that’s for the zipline tour itself with all equipment and two guides. The catch is you also need the Skyline Gondola ticket (NZ$66 per person), since gondola access is not included.
So is this still good value? In my view, yes—if you treat the Gondola as part of the experience, not a separate tax. You’re not just paying for a single ride. You’re paying for guided launches from treehouse platforms, safety gear, a small-group setup, and multiple zip runs through the forest with views that are hard to get any other way.
It’s not the cheapest way to spend a couple of hours in Queenstown, but it’s also not a bare-bones thrill with no coaching. And compared with DIY adventure, the included safety gear and trained supervision are a real benefit.
One more time-cost angle: you’ll want enough buffer to access the upper Skyline complex. The tour recommends a minimum of 60 minutes from the base terminal, or at least 90 minutes in peak times. If you show up late, you risk stress—and stress is not the mood you want before you’re launching 450 meters above the town.
Who should book this zipline in Queenstown (and who should skip it)
This tour fits best if you want a guided Queenstown adrenaline hit with less guesswork. It’s ideal for:
- First-timers who want support and clear instructions
- Families looking for a “choose your intensity” option (one course is described as better for kids and less adrenaline)
- View lovers who want Lake Wakatipu and the Remarkables without hiking for hours
- People who prefer small groups (maximum of 10 travelers)
It may not fit if:
- You’re pregnant, since the tour says pregnant women are unable to go
- You’re over the weight limit of 125kg (275lbs)
- You’re planning to do the Kea course but fall below the minimum weight of 30kg (66lbs)
- You’re arriving with very young kids who may need the accompanying adult requirement (youth under 14 must be accompanied by a paying adult)
If you’re the type who gets nervous at the edge, don’t automatically assume you’ll have a bad time. The guide approach here is repeatedly described as patient and supportive—people who were initially scared often ended up enjoying it.
Small-group reality check: logistics that can make or break the day
This tour’s meeting point is at Ziptrek Treehouse, top of Gondola, Queenstown 9300. No hotel pickup is included, so you’re on your own for getting to the Skyline complex.
The bigger logistics issue is time. Skyline access takes time, especially at peak periods. Give yourself room to move, use the restroom, and get your layers on before check-in. When people struggle, it’s usually not the zipline. It’s the timing between Gondola and meeting point.
One tip from real-world experience: some people reported being able to use the same Skyline gondola ticket again to get back up if they received a Ziptrek stamp. I can’t guarantee that for every situation, so I’d ask at check-in just to be safe.
Should you book Ziptrek Treehouse ziplining from Queenstown?
If you want the classic Queenstown experience—adventure with a view—and you like the idea of being coached step-by-step, I think you should book this. The combination of small groups, two guides, and the included safety gear is what makes it feel like a reliable thrill, not a risky experiment.
I’d only hesitate if you’re trying to avoid extra costs and time. Between the tour price and the Skyline Gondola ticket, the total spend can add up, and you need to schedule your day around reaching the summit. If that part works for your itinerary, though, this is a very strong use of a couple of hours.
FAQ
Where is the meeting point for this zipline tour?
You meet at Ziptrek Treehouse – Tour Check-In, located at the top of the Gondola in Queenstown (Top of Gondola, Queenstown 9300).
What is included in the $73.85 per person price?
The price includes the zipline tour, two professional zipline guides, all equipment, and hats and gloves in winter.
How long does the tour take?
The tour duration is about 2 hours.
Do I need a Skyline Gondola ticket?
Yes. Skyline Gondola tickets are not included in the zipline price, and the tour lists Gondola tickets as NZ$66.00 per person.
What are the three tour options?
You choose from three courses. One is the thrill option called Kereru with a 68-foot (21-meter) drop. Another is a longer, toned-down option aimed at families with kids. The tour also references different packages such as Ziptrek Ecotour and Kea.
Are there weight limits for the ziplines?
Yes. The maximum weight for any Ziptrek Ecotour is 125kg (275lbs). The Kea tour has a minimum weight of 30kg (66lbs).
What should I wear?
Wear closed-toe shoes. The tour specifically says no sandals, flip flops, or heels. Bring an extra layer year-round, and jackets, hats, and gloves are recommended (hats and gloves are included in winter).
Are there age limits or requirements for minors?
Yes. Youths under age 14 must be accompanied by a paying adult (15 years and over). Also, those 17 years and under must have a waiver signed by a parent or guardian who is 18 years or over.
What is the cancellation policy?
You can cancel for a full refund up to 24 hours before the experience start time. If you cancel less than 24 hours before, the amount you paid is not refunded. Free cancellation requires at least 24 hours notice.