REVIEW · WHISTLER
Whistler: Ziplining Experience
Book on GetYourGuide →Operated by Ziptrek Ecotours, Whistler · Bookable on GetYourGuide
One sentence hook: This is the fastest way to feel Whistler.
You start in Whistler Village, ride the Whistler Village Gondola, then fly across the air on a 2400-foot zipline with views over the Fitzsimmons Valley and the Blackcomb side of the mountain. What I love most is how the guides keep you relaxed (I’ve seen people mention first-timers feeling totally safe with staff like Sasha, Matt, Elise, and Olly), and how the route keeps moving so you get real variety—5 ziplines plus treetop bridges. One thing to plan for: it’s an outdoor activity in all weather and there’s a bit of stair climbing before you even launch.
If you want a straightforward adrenaline hit with serious organization, this one is hard to beat. The setup is built for small groups (up to 10) with two tour guides, and the last zip actually drops you back into the village, right at the base of the mountain. The drawback you should respect up front: it’s not a fit if you’re not comfortable with heights and stairs, or if you fall outside the weight/age rules.
In This Review
- 6 Key Things That Make This Ziplining Worth Your Time
- Why This Whistler Zipline Feels Different From a One-Off Thrill
- Where You Check In: Carleton Lodge Across From the Gondola
- Your Gear Moment: Helmet, Harness, and Getting “Zip-Ready”
- The Gondola-to-Zip Sequence: How the First Launch Builds Confidence
- The Eagle Tour Route: 5 Ziplines, 4 Bridges, and Tandem Fun
- Stop by stop, what it feels like
- Views Over Fitzsimmons Valley and Blackcomb: A Smarter Kind of Sightseeing
- Guides Are the Real Upgrade: Safety + Smiles + Nature Info
- What to Wear: Closed-Toe Shoes, Winter Layers, and Phone Strategy
- Price and Value: $130 for Equipment, Guides, and a Full Course
- Timing and Group Size: What a Small Group Changes
- Who Should Book This Ziplining, and Who Should Skip
- It’s a strong fit if you:
- Skip it if you:
- Quick Checklist Before You Go
- Should You Book Ziptrek’s Whistler Ziplining?
- FAQ
- How long is the Whistler ziplining experience?
- Where do I meet the tour?
- Is hotel pickup or drop-off included?
- What equipment is provided?
- What kind of shoes should I bring?
- What are the age rules to zip?
- What are the weight limits?
- Does it run in bad weather?
- How big is the group?
6 Key Things That Make This Ziplining Worth Your Time
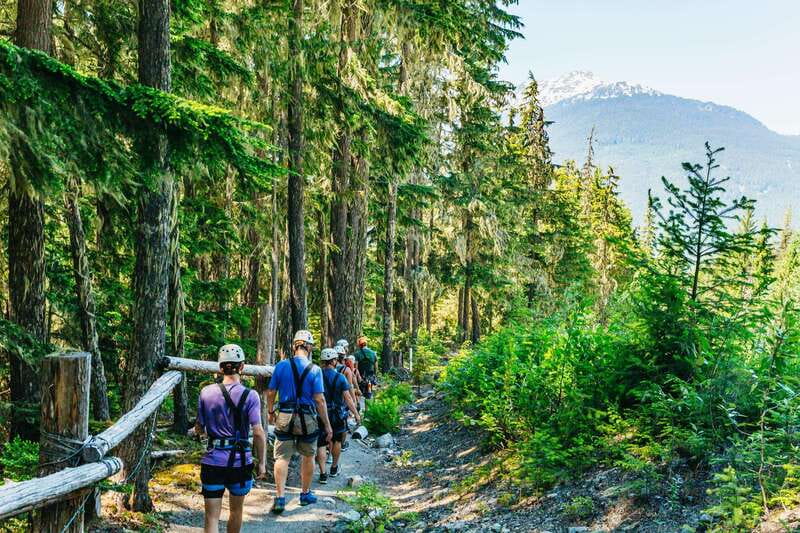
- Gondola access first: you don’t just hike in—you ride up to your launch point.
- 5 ziplines + 4 treetop bridges: it’s not one long thrill, it’s a whole course.
- A 2400-foot main ride: big distance, big speed, and real views.
- Tandem options: zip next to a friend, which helps nerves and adds laughs.
- Two guides in a small group: hands-on coaching and consistent safety checks.
- Finish back in Whistler Village: end where you can keep the day going easily.
Why This Whistler Zipline Feels Different From a One-Off Thrill
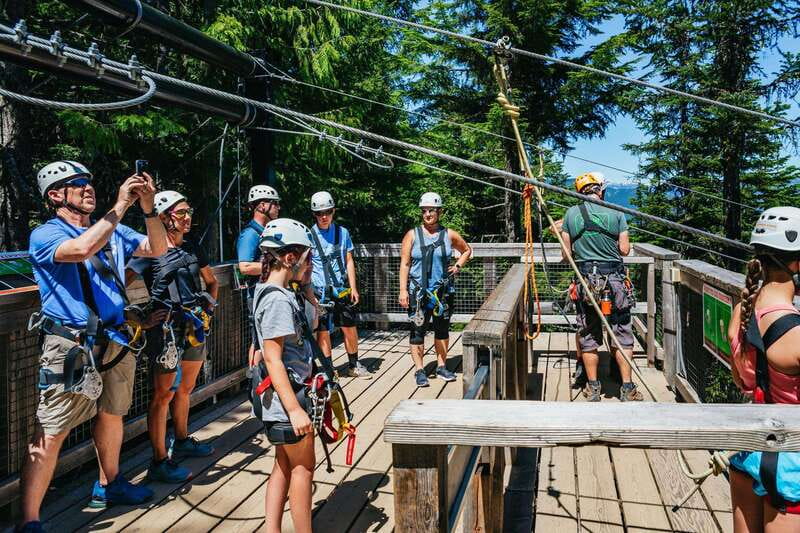
Whistler is built for outdoor play, but most activities give you one kind of fun. This one gives you motion, views, and coaching all in one loop. You’ll feel the wind almost immediately, because the course is designed to start fast—access comes via the gondola, then you’re at the first launch point at about 3,280 feet (1,000m) on Whistler Mountain.
Two things set it apart for me. First, the route is paced so you get a mix of calm moments and full-on adrenaline—especially with the treetop bridges in between flights. Second, the guides don’t just hand you gear; they coach you through the experience and keep it upbeat. I’ve seen names like JD and Emily, and Harry and Charlie, showing up in praise for being friendly and professional while keeping people comfortable.
The course is also practical: the end is close to the start area, so you’re not stuck figuring out transport after you’re exhilarated and maybe a bit winded.
Where You Check In: Carleton Lodge Across From the Gondola
You’ll check in at Carleton Lodge in Whistler’s main village, right across from the Whistler Village Gondola. The retail storefront is on the left as you climb the front steps to the main building entrance.
This matters because it keeps your day simple. You’re not hunting for some remote trailhead or guessing where the guides are meeting you. From there, the experience flows: gondola ride to the first launch access, then a short walk to the launching area on Whistler Mountain.
If you’re driving, I’d plan extra time to find parking in the village and double-check how you’ll get back after the activity. One review mentioned parking instructions weren’t great, and that’s the kind of small hassle that can steal your momentum if you arrive late.
Your Gear Moment: Helmet, Harness, and Getting “Zip-Ready”
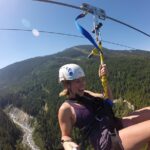
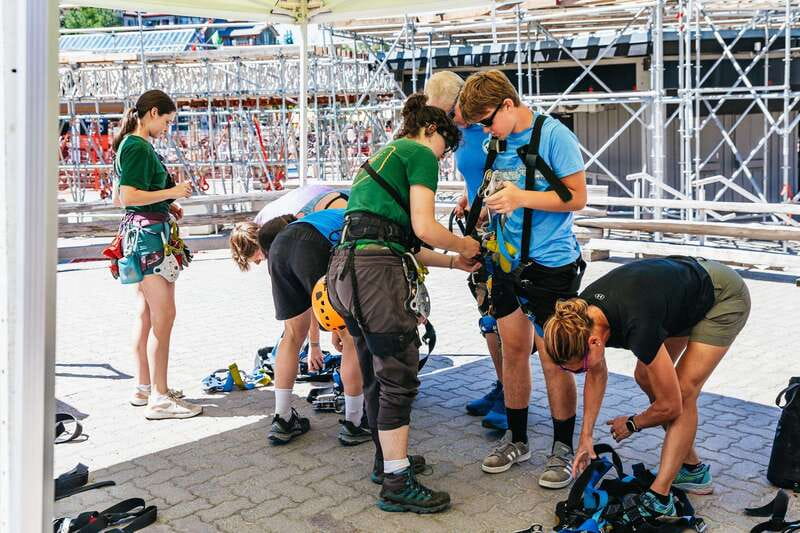
Once you check in, you’ll get the equipment you need: helmet and harness. You bring your own closed-toe shoes—open-toed shoes aren’t allowed.
The big value here is that you don’t spend your travel day worrying about renting gear or figuring out fit. The guides set you up, then guide you through how to use the system safely. People consistently mention feeling reassured and safe even on a first go—especially with guides like Jacob and Alex, who get called out for making first-timers feel comfortable.
Also, remember it’s an active, outdoors-on-mountain experience. That means you should expect some physical work (stairs) and time outdoors before you start flying.
The Gondola-to-Zip Sequence: How the First Launch Builds Confidence
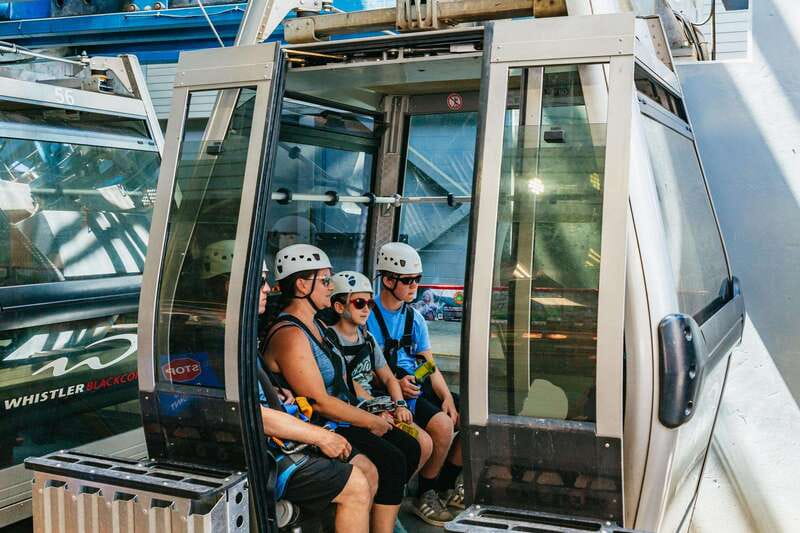
Your first access comes via the Whistler Village Gondola. That’s not just a nice scenic add-on—it gets you above the crowds and into “mountain mode” without a long uphill grind.
After the gondola ride, there’s a short walk to your first launch point at roughly 3,280 feet (1,000m) on Whistler Mountain. This is where you’ll feel the altitude shift, and it’s also where the guides help you get the mechanics down before the full speed starts.
If you’re nervous, this setup usually helps. The course doesn’t throw you directly into the longest zipline with zero instruction. You build from there.
The Eagle Tour Route: 5 Ziplines, 4 Bridges, and Tandem Fun
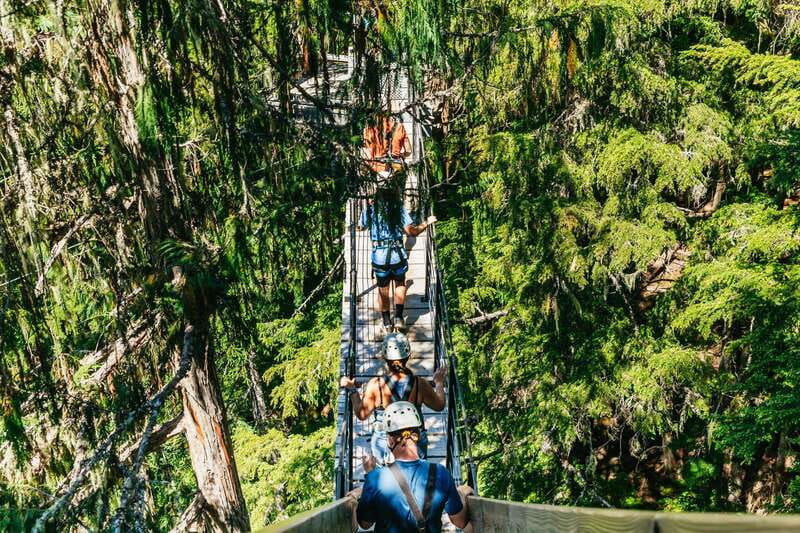
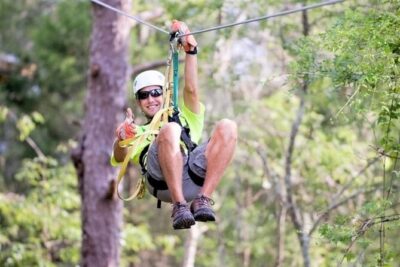
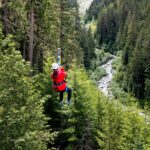
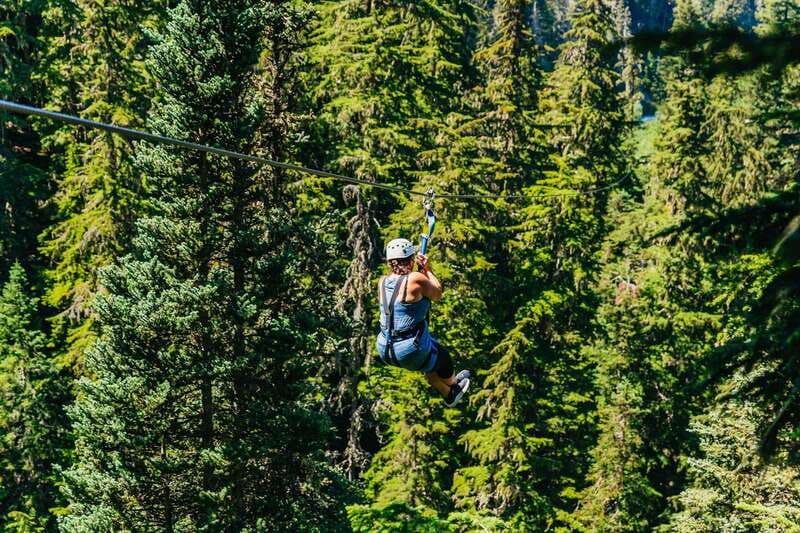
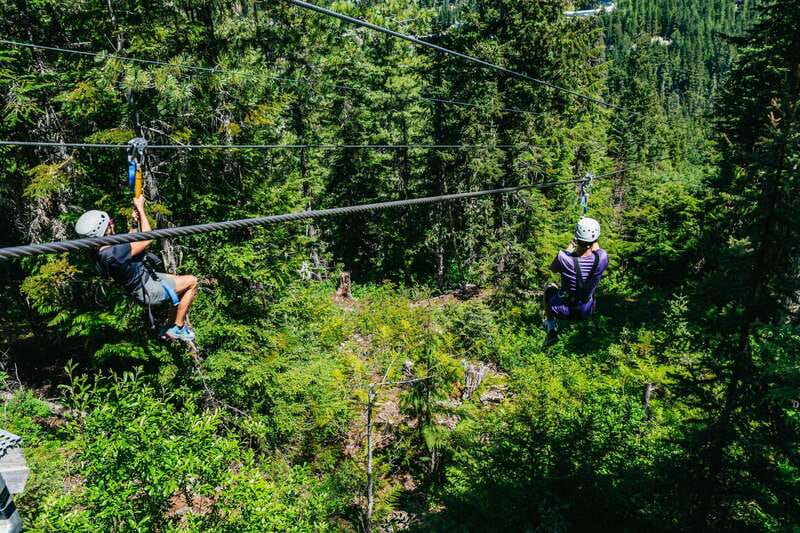
Here’s the heart of the experience: you’ll fly on five ziplines and cross four treetop bridges across Whistler Mountain.
Stop by stop, what it feels like
- Start climb-light, zip-fast
You ride up, walk to your launch, and then begin flying. Expect a rush right away, plus a lot of visual reward.
- Multiple ziplines with a wind-in-your-hair feel
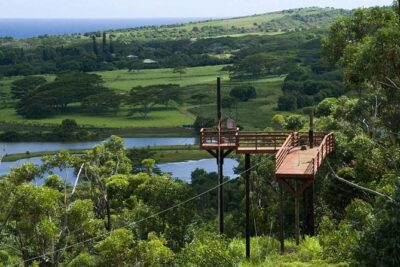
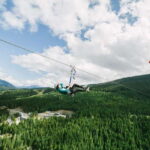
You’ll soar past forests and mountain views, including the Fitzsimmons Valley and the Blackcomb Mountains. One zipline is highlighted as 2400 feet, and the rest keep the pace up so you don’t lose the thrill between segments.
- Treetop bridges in between
Those bridges break the experience into sections—less chance of getting mentally overwhelmed by only flying, and more time to look around. They also add variety so the day doesn’t feel repetitive.
- Tandem moments next to a friend
The course includes tandem ziplining options where you can fly next to a friend. This is one of the easiest ways to reduce first-time jitters because you’re sharing the moment instead of bracing alone.
- The final zip back into Whistler Village
The last ride brings you right back into Whistler Village, at the base of the mountain. That finish is surprisingly satisfying—you get to land and immediately shift back to real vacation mode.
One more detail that shows up in feedback: people note the guides encourage fun, sometimes even teaching riders how to zip in different ways (one review mentioned upside-down zip techniques). You should treat that as optional coaching rather than a requirement, but it’s a good signal that the guides know how to keep the energy high.
Views Over Fitzsimmons Valley and Blackcomb: A Smarter Kind of Sightseeing
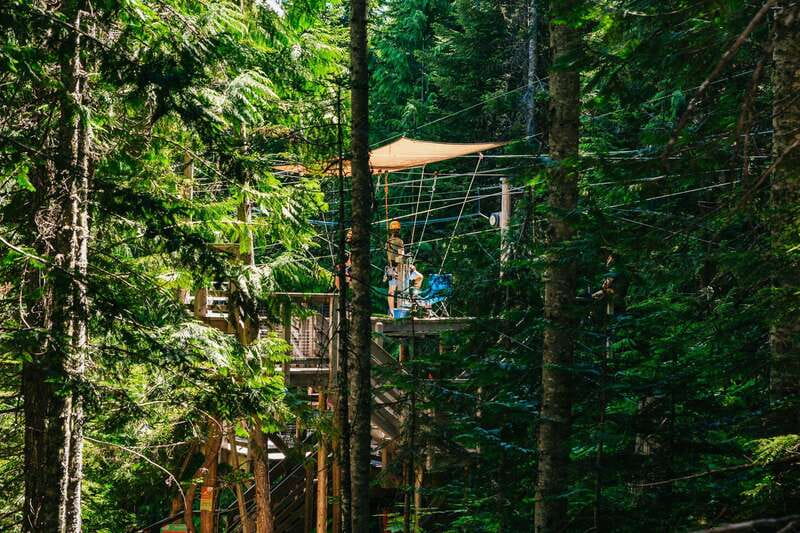
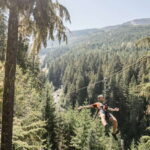
This is not sightseeing from a bench. You’re moving through it. From the air, you get a layered view: forest patterns below, valley space in front, and the mountains framing the whole scene.
The Fitzsimmons Valley views and the Blackcomb Mountains viewpoints are built into the route, so you’re not just getting a standard “mountain view.” You’ll notice changes as you cross between lines—light shifts, tree cover opens, and your perspective changes fast.
If you’re the type who likes nature but dislikes long hikes, this is a good compromise. You get plenty of outdoor time, without turning the day into a slog.
Guides Are the Real Upgrade: Safety + Smiles + Nature Info
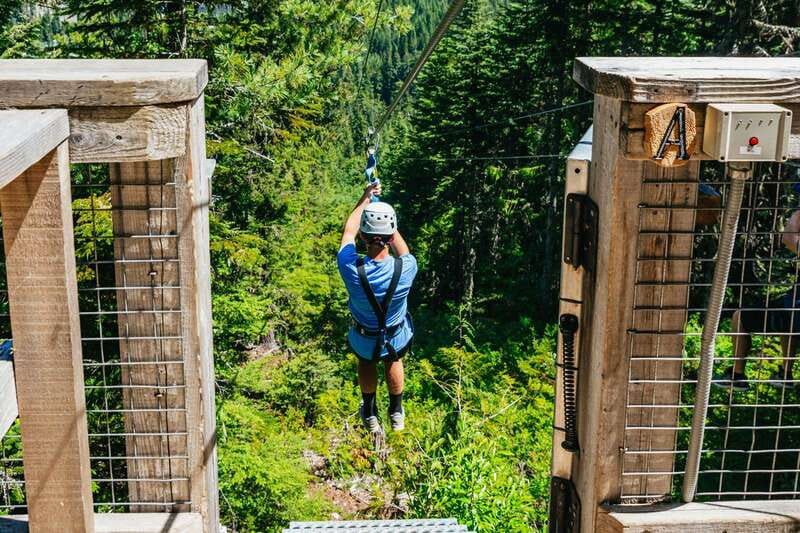
This experience lives or dies on the guides, and that comes through again and again. People mention two tour guides, and praise them for being professional, reassuring, friendly, and energized.
I saw repeated name highlights: Sasha and Jacob, Elise and Olly, Seb, Lee and Nadia, JD and Emily, and Matt and Mel. Across those comments, the common thread is simple: the guides manage safety without killing the fun.
They also add nature and environmental context. One strong theme in feedback is that you get little learning stops along the way—information about birds, trees, bears, and local conservation. That’s not a lecture. It’s integrated into breaks between flights, so the trip feels like a nature experience, not just a thrill ride.
If you like the idea of understanding what you’re flying over, this is a major win.
What to Wear: Closed-Toe Shoes, Winter Layers, and Phone Strategy
Rules are clear: you need closed-toe shoes, and open-toed shoes aren’t allowed. That’s the baseline.
Beyond that, I’d dress for weather because the activity runs in all conditions. In winter, plan for cold. One review mentioned temperatures around -5 and suggested layering hard, plus renting snow pants locally (EVO Rentals came up). Even if you’re not a winter person, bring warm gear and expect wind exposure once you start flying.
Two practical carry tips that help on real days:
- If you’re bringing a bag, it may be possible to leave a backpack with valuables at the meeting point (mentioned in a review).
- If you’re filming, consider having a way to protect your phone in zippered jacket pockets. One review specifically recommended keeping a phone handy in zip pockets and taking a GoPro.
Price and Value: $130 for Equipment, Guides, and a Full Course
At $130 per person for about 3 hours, you’re paying for more than “one zipline.” The value is in the package:
- All necessary equipment (helmet and harness) is included.
- Two tour guides are included, not a solo operator.
- You get a full sequence: 5 ziplines, 4 treetop bridges, plus tandem ziplining options.
- You get gondola access to reach the launch area.
It’s also easy to plan because the activity offers free cancellation up to 24 hours in advance and a reserve-and-pay-later option. That matters if your Whistler schedule might shift due to weather.
If you’re comparing experiences, the key question to ask isn’t whether you can find a cheaper zipline. It’s whether that price includes the full course, the guided coaching, and the equipment. Here, it’s built into the ticket.
Timing and Group Size: What a Small Group Changes
The group is limited to 10 participants, and you have 2 guides. That ratio tends to mean less waiting and more attention.
The duration is listed as 3 hours, and starting times depend on availability. In practice, you should treat this as a block that keeps your day busy but not draining—thrilling enough that you’ll remember it, structured enough that it won’t drag.
Who Should Book This Ziplining, and Who Should Skip
This isn’t for everyone, and the rules are there for a reason.
It’s a strong fit if you:
- Want a thrilling outdoor experience with real mountain views
- Are comfortable with heights and can handle some stairs
- Like small-group adventure coaching
- Want tandem options so you can share the fun with a friend
Skip it if you:
- Are pregnant
- Have mobility impairments (not suitable)
- Are under the minimum age for the experience (it’s suited for age 6 and up)
- Don’t meet the weight limits: minimum 75 lbs (34 kg) and maximum 275 lbs (125 kg)
Also important for families: guests must be at least 15 years old to zip without a guardian. Anyone 18 and under needs a guardian signature on their waiver. That’s a practical detail worth sorting before you arrive.
Quick Checklist Before You Go
Bring:
- Closed-toe shoes (mandatory)
Plan on:
- Climbing stairs as part of the experience
- Outdoor time in all weather conditions
- Being within 75–275 lbs (34–125 kg)
- Meeting the age and guardian waiver rules
Optional but smart:
- Cold-weather layers for winter conditions
- A camera plan (GoPro mentioned in feedback) and a phone strategy for pockets
Should You Book Ziptrek’s Whistler Ziplining?
I’d book this if you want a well-run Whistler “wow” that doesn’t waste time. You ride up by gondola, you fly multiple times, you cross treetop bridges, and you finish back in Whistler Village. The small group, two-guide setup, and the repeated praise for safety and confidence-building make it especially good for first-timers.
But don’t book it if stairs, heights, or the minimum/maximum requirements are an issue for you. Also, if you’re sensitive to cold or wet conditions, dress like you mean it—this runs in all weather.
If you’re in Whistler with a couple of hours free and you want your vacation day to feel like motion, this is a very good bet.
FAQ
How long is the Whistler ziplining experience?
The duration is about 3 hours.
Where do I meet the tour?
Check in at Carleton Lodge in Whistler’s main village, across from the Whistler Village Gondola.
Is hotel pickup or drop-off included?
No. Hotel pickup and drop-off are not included.
What equipment is provided?
You’ll get all necessary equipment, including a helmet and harness.
What kind of shoes should I bring?
You need closed-toe shoes. Open-toed shoes are not allowed.
What are the age rules to zip?
The experience is suited for ages 6 and up. To zip without a guardian, you must be at least 15 years old. All minors (18 and under) require a guardian signature on their waiver.
What are the weight limits?
Minimum weight is 75 lbs (34 kg) and the upper weight limit is 275 lbs (125 kg).
Does it run in bad weather?
Yes. The outdoor adventure operates in all weather conditions.
How big is the group?
The group is small, limited to 10 participants.