REVIEW · WHISTLER
2 Hour Late Afternoon Winter Zipline Adventure
Book on Viator →Operated by Ziptrek Ecotours · Bookable on Viator
Winter dusk turns the forest magical. This late-afternoon zipline adventure in Whistler guides you through four unique winter runs, with twinkle lights along the course that really pop as evening arrives. It’s the kind of outing where you feel the cool air, then get a steady, guided path from harness to final glide back.
Two things I really like: you get all the safety gear (harness and helmet) included, and the tour is small, capped at eight people, so it stays personal and easier to manage in the snow. One thing to consider: winter ziplining still means walking on snowy ground and doing some climbing/step-ups while you’re getting set, so it’s best for people who are comfortable with short, cold, physical moments.
In This Review
- Key Highlights at a Glance
- Winter Ziplining in Whistler: What Makes This Run Different
- Price and Value: What You’re Really Paying For
- Getting There: Whistler Village Meeting Point and Easy Start
- Suiting Up: Harness, Helmet, and First-Time Comfort
- The Van Ride to the Start: Short, Simple, and Worth It
- Four Winter Ziplines: How the Course Plays as Night Falls
- What the Guided Approach Adds
- Gear and Safety: What “Feels Safe” Means Here
- Best Time to Go: Late Afternoon for the Lighting Effect
- Who This Tour Fits Best (and Who Might Want to Skip)
- What to Bring: Simple Winter Prep That Pays Off
- Weather, Light, and the One Real Limiter
- Is This Worth Booking? My Straight Answer
- FAQ
- How long is the late afternoon winter zipline adventure?
- What do I need to bring?
- How many ziplines are included?
- Is transportation included from Whistler Village?
- Where is the meeting point?
- What group size should I expect?
- What’s the cancellation policy?
- Is the tour offered in English?
Key Highlights at a Glance
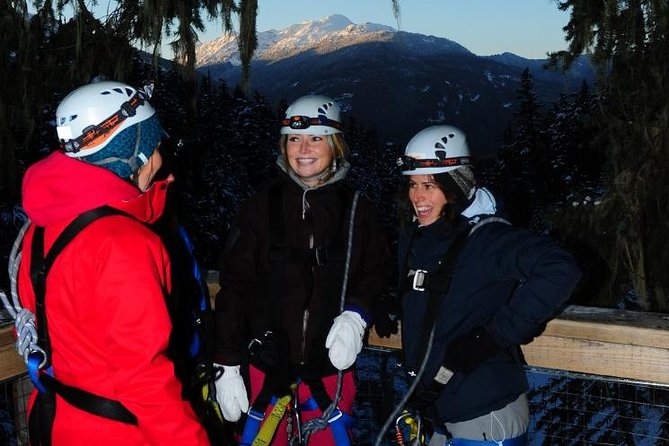
- Twilight-to-dark lighting: twinkle lights guide you as the course transitions from dusk to night
- 4 distinct winter ziplines: a sequence that keeps the pacing fast and the views changing
- Small group of up to 8: easier guidance, quicker check-ins, calmer overall flow
- Harness and helmet included: you’re suited up from the start, no hunting for gear
- Whistler Village round-trip transfers: a van ride to the start point and back without extra planning
- Guides keep it moving with a local story: you’re not just zipping, you’re learning as you go
Winter Ziplining in Whistler: What Makes This Run Different
Whistler is built for year-round adventure, but winter changes the feel in a big way. This tour leans into that: you start in late afternoon, and as dusk hits, the course lights up with a gentle twinkle effect. That matters more than you’d think. When it’s snowing or just cold enough for early evening, the lights help you track the line and settle your nerves—especially if you’re new to ziplines.
This is also a guided experience all the way through. You meet your guides, get outfitted, ride to the start, and then move through four ziplines with a clear, structured approach. Several guides are mentioned by name in past outings, including Sasha and Lucy, plus Emily and Keek. Even without seeing your exact team ahead of time, the pattern is clear: you’re not left to figure it out solo.
Price and Value: What You’re Really Paying For
At $126.17 per person for about 2 hours, it’s not a budget activity. But it is priced like a true guided adventure with equipment and transportation included.
Here’s what you get that helps justify the cost:
- Safety gear included: harness and helmet
- Four professionally run zipline segments with two guides
- Van transportation to and from the Whistler Village meeting area
You’re paying for three things that cost money in real life: trained staff, equipment, and the logistics of moving people in winter. For a short, high-energy activity, that’s usually the difference between a “fun for a moment” experience and one that feels organized and safe throughout.
If you’re the type who likes your thrill rides structured (and you don’t want to waste time coordinating gear or directions), this tends to be good value.
Getting There: Whistler Village Meeting Point and Easy Start
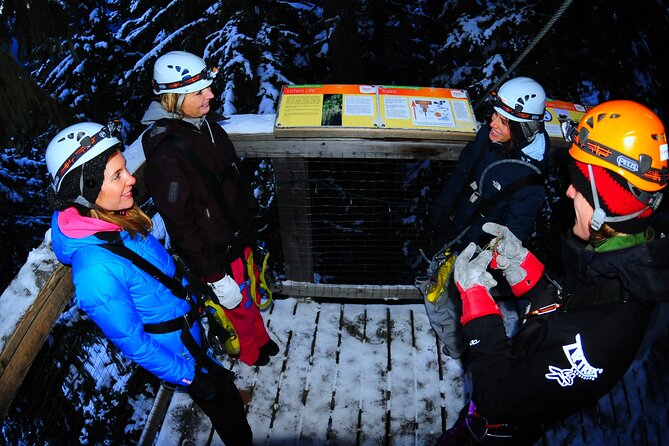
Your tour begins at Carleton Lodge, 4280 Mountain Square, Whistler, BC V8E 1B9. The meeting point being in the Whistler area matters because it keeps the whole outing simpler. You’re not piecing together a complicated schedule or searching for a remote access road in winter.
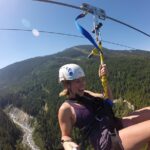
Once you meet the guides, you’re outfitted on-site with your gear—harness and helmet—before anything else happens. Then it’s a short van ride to the tour start point. That transfer is one of those details that makes the experience feel smooth. In winter, it’s not just convenience; it reduces exposure to cold and wind while you’re figuring out where to go.
Suiting Up: Harness, Helmet, and First-Time Comfort
This tour starts with a straight-to-action safety step. You’ll be harnessed and wear a helmet before heading out. That’s huge for comfort, especially if you haven’t ziplined in snow before.
In practical terms, it helps your brain relax early. You’re not spending the first part of your evening trying to guess whether something fits, whether it’s secure, or whether you’re doing it right. The guides handle it, and once you’re geared up, you move on to the next step without delays.
You should also plan for some winter movement while you’re getting set: reviews note walking in snow and some climbing/stepping. Nothing about it sounds like a long hike, but it’s still physical enough that good boots and steady footing matter.
The Van Ride to the Start: Short, Simple, and Worth It
After outfitting, you ride by van to the starting area. This is one of those “small details” that often makes or breaks winter activities. In snow, getting to the platform can be the part that drains energy. With transfers included, you can save that energy for the ziplines themselves.
The van also keeps the group together. With a cap of eight people, the pacing stays controlled and you’re less likely to feel split up. That tends to matter when you’re waiting for instructions and timing the course sequence as dusk approaches.
Four Winter Ziplines: How the Course Plays as Night Falls
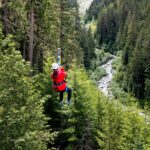
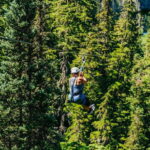
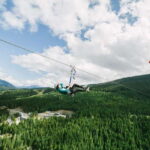
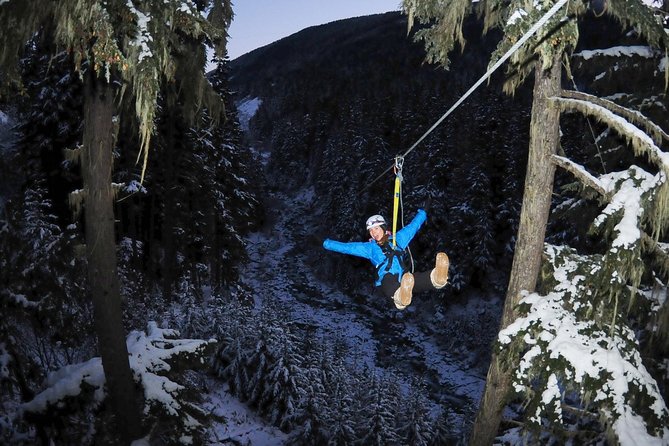
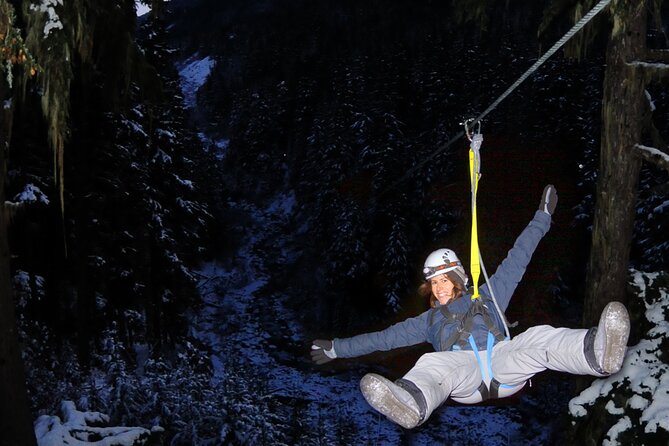
The heart of the experience is four unique ziplines, each run designed to keep the scenery and motion feeling fresh. The guides lead you through the system, and you’re not just watching a checklist—you’re actively moving, one line to the next.
What makes this tour feel special is the timing. You go late afternoon, so you get the transition: from daylight fading to dusk, and then into evening darkness. Along the course, soft twinkle lights appear and guide the way. Reviews describe it like a different world when it’s fully dark—walking through and flying through the forest while lights mark the path.
That lighting does two jobs:
- It helps you see where you’re going, which is comfort for your nervous system.
- It makes the experience more atmospheric, so the “winter forest” doesn’t feel dark and blank.
If you’re choosing a zipline in Whistler specifically for a winter feel, this twilight-to-dark setup is the reason to pick this outing over a daytime-only run.
What the Guided Approach Adds
Because you have guides throughout, you get more than safety cues. You also get context—there’s a story included about the amazing location you zip around. That’s a useful layer. When you understand what you’re flying over and why the area matters, you tend to pay attention instead of just bracing.
And the two-guide setup matters. With a small group, it’s easier for them to keep an eye on everyone’s harnessing, positioning, and pacing without rushing people.
Gear and Safety: What “Feels Safe” Means Here
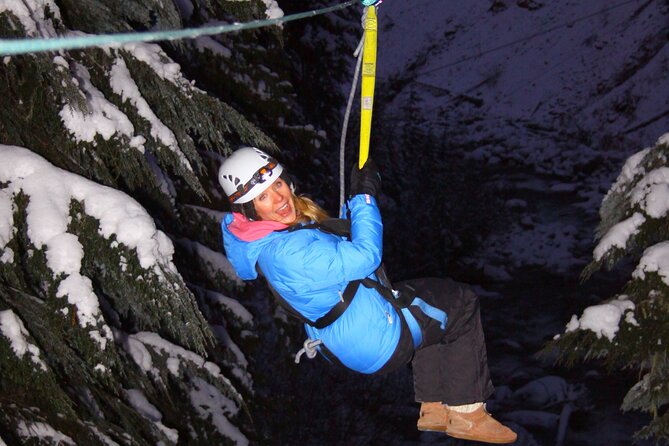
Safety gear is included: harness and helmet. That’s the foundation. But the vibe matters too, and the tour’s structure is built around it—fully guided, with professional help across all four ziplines.
In past outings, people repeatedly described the experience as extremely safe and said they felt secure the entire time. You can take that as a good sign of process: guides likely do clear checks before you go out onto the line and maintain control over how the group moves.
Still, keep expectations realistic. Winter ziplining is cold and you’re on snowy ground before you fly. The goal isn’t to remove every discomfort; it’s to make the thrill controlled and confident. Wear warm layers and move carefully when you’re walking to the platforms.
Best Time to Go: Late Afternoon for the Lighting Effect
This is a late-afternoon run, and that timing is the whole point. If you go too early, you miss the big visual shift. If you go too late, the course might feel harsher in the cold.
The way this one is scheduled helps you catch dusk and then keep going into night with the lights doing their work. Reviews mention people being impressed when they hit full dark, where the lights transform the feel of the forest.
If your trip window is tight and you’re deciding between “daytime” and “evening” ziplining, this evening-leaning timing is the unique value.
Who This Tour Fits Best (and Who Might Want to Skip)
This tour says most travelers can participate, which is a good broad signal. It’s also clearly designed as a winter-friendly experience with proper gear and guiding.
You’ll probably love it if:
- You want a structured winter adventure (not a DIY outing)
- You like small groups (up to eight)
- You’re excited by the switch from daylight to night lighting
- You’re comfortable with short, cold, physical moments like walking on snow and getting into position on platforms
You might want to pass or ask more questions first if:
- You have trouble with walking on uneven snowy ground
- You’re very sensitive to cold (dress warm)
- You expect a totally effortless, flat experience before you fly
Age-wise, kids around 13 and 11 have enjoyed it in past outings, which suggests it can work for families—assuming everyone can handle basic winter movement and safety instructions.
What to Bring: Simple Winter Prep That Pays Off
The tour includes harness and helmet, so you don’t need to bring zipline gear. What you should bring is comfort for the winter parts: before you fly and between lines.
Good ideas:
- Warm layers you can move in (you’ll feel cold while waiting your turn)
- Gloves that let you keep control and grip
- Sturdy winter footwear with reliable traction
- A hat or hood (helmet won’t replace all heat needs)
- Sunglasses or clear eye protection if it’s bright, and extra layers if it’s windy
Also, plan to spend time outside in winter. Even a “short” outing can feel longer when you’re standing still in cold air.
Weather, Light, and the One Real Limiter
This experience requires good weather. That matters because snow, wind, and other conditions can affect operations. If weather cancels it, you’ll be offered a different date or a full refund, so you’re not stuck.
In practical terms: check the forecast close to departure. If conditions look iffy, be ready for the possibility of a date shift.
Is This Worth Booking? My Straight Answer
If you want Whistler in winter without the long-day grind, and you like your adventure guided, this is an easy yes to consider.
Book it if:
- You’re chasing the dusk-to-dark twinkle-lit zipline experience
- You value small-group attention (eight max)
- You want gear and transfers handled for you
- You’re okay with a short winter walk and some climbing/stepping while getting set up
Skip it (or pick another option) if:
- You dislike cold waiting times
- You’re not comfortable moving on snowy surfaces
- You want a longer activity with more time off the main platform
This tour hits a sweet spot: short, guided, safety-focused, and timed to look amazing as evening takes over.
FAQ
How long is the late afternoon winter zipline adventure?
It runs for about 2 hours.
What do I need to bring?
The tour provides the harness and helmet. You should bring appropriate winter clothing and footwear for walking on snowy ground.
How many ziplines are included?
The experience includes 4 ziplines.
Is transportation included from Whistler Village?
Yes. Round-trip transportation by van is included from the Whistler Village meeting area and back.
Where is the meeting point?
The start is at Carleton Lodge, 4280 Mountain Square, Whistler, BC V8E 1B9, Canada. The tour ends back at the same meeting point.
What group size should I expect?
The tour has a maximum group size of 8 travelers.
What’s the cancellation policy?
You can cancel for a full refund up to 24 hours in advance. If you cancel less than 24 hours before the start time, the amount paid is not refunded.
Is the tour offered in English?
Yes, it’s offered in English.