REVIEW · WHISTLER
Whistler Sasquatch® Zipline
Book on Viator →Operated by Ziptrek Ecotours · Bookable on Viator
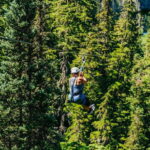
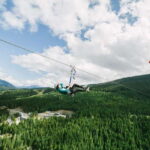
Canada’s longest zipline lives up to the hype. The Whistler Sasquatch® tour pairs a gondola ride with a valley-crossing zipline that feels fast, high, and very well run. You also get the “how is that even possible?” views most people miss from the gondola alone.
I like the small-group setup (max 10) because you get hands-on guidance without feeling rushed. I also love that the ride is built into a simple route: Blackcomb Gondola up, short transfer to the launch, then down to Whistler Village after the zip. That structure keeps the day from feeling like a maze.
One thing to plan for: even though the tour runs in almost all weather, if the gondola or weather conditions shut things down, you may face delays or need an alternate date. One unlucky party also reported having to walk longer than expected when operations paused.
In This Review
- Key Things to Know Before You Go
- Why the Sasquatch Ride Feels Like a Whistler Bucket-List Moment
- The Route in Plain English: Blackcomb Up, Zip Across, Whistler Village Down
- Meeting Point: Mountain Square Start
- Stop at Whistler Blackcomb: Gondola Access + Transfer to Launch
- The Zip: One Cross-Valley Run
- Download and Return to Whistler Village
- Price and Value: What $118.28 Buys You
- Safety: Harness Time, Guide Reassurance, and Real-World Rules
- Gear and what you must wear
- Weight and age limits (important for fit)
- Timing: Why 1 Hour 30 Minutes Still Includes a Full Experience
- The Views You Actually Get (Not Just What the Marketing Says)
- Comfort Tips That Make a Real Difference
- Who Should Book This Zipline (and Who Might Think Twice)
- Should You Book the Whistler Sasquatch Zipline?
Key Things to Know Before You Go
- Canada’s longest zipline: the main event is truly the long, high, fast crossing.
- Max 10 people: you’ll get attention during harnessing, briefing, and timing.
- Route is efficient: gondola up, quick transfer, then zip and download back down.
- Small rules matter: secure eyewear and wear closed-toe shoes—no slip-ons.
- No bags or hanging cameras: keep your phone/camera in an approved carry setup.
- Optional GoPro: you can rent one if you want proof you actually did it.
Why the Sasquatch Ride Feels Like a Whistler Bucket-List Moment
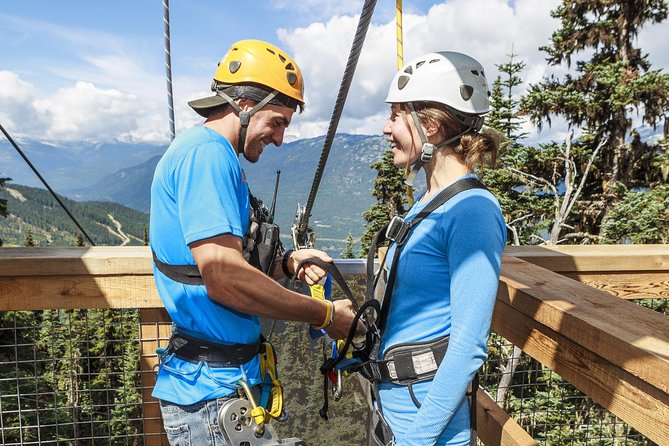
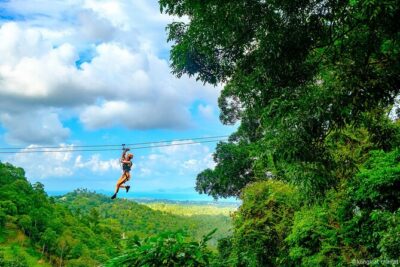
The Sasquatch zipline is all about momentum—one big step off the launch pad, then you’re flying over the valley with the mountains moving fast behind you. Reviews repeatedly call it a bucket list check, and the vibe you’ll get from the crew matches that: they treat this like a real outdoor safety operation, not a casual tourist sprint.
You also get a big “bonus” that matters more than people expect: the Blackcomb Gondola ride up. It’s not just transit. The gondola adds elevation and drama before you even zip, which helps you understand the scale of what you’re about to do. When your launch point finally appears, you’re already in the right headspace.
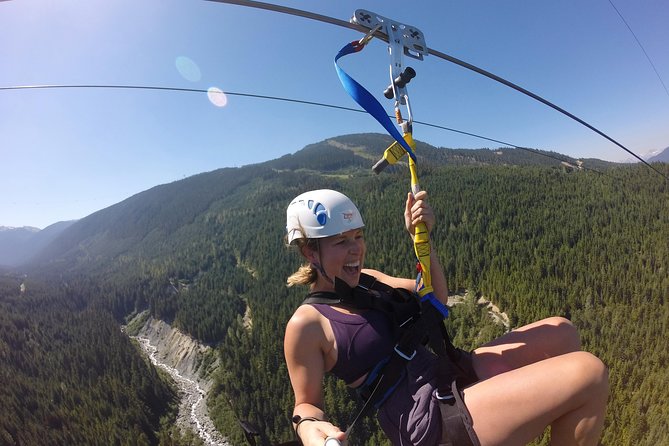
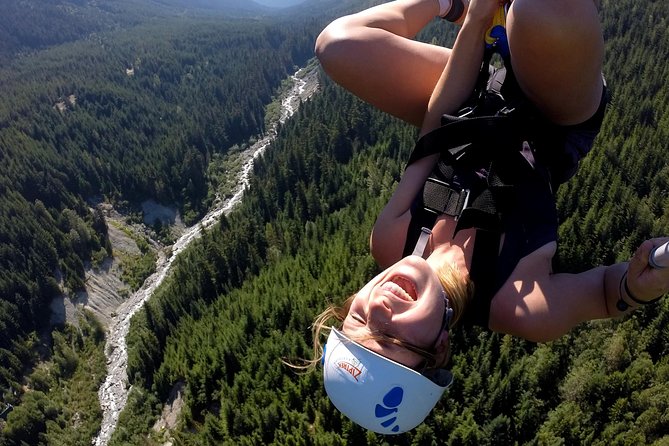
And yes—the speed is the point. More than one rider described it as very fast (one review mentions around 130 km/h), and the whole experience is short enough to stay thrilling rather than exhausting. It’s an adrenaline minute and a half, then you’re back to walking and soaking up the scenery.
The Route in Plain English: Blackcomb Up, Zip Across, Whistler Village Down
Here’s how the day flows, step by step, without the guesswork.
Meeting Point: Mountain Square Start
You start at 4282 Mountain Square, Whistler, BC V8E 1B9. This is where you’ll check in, get your gear sorted, and meet the guide team. The good news: it’s easy to find compared to tours that scatter your group across multiple pickup spots.
From here, the tour keeps moving. You’re not standing around wondering what happens next.
Stop at Whistler Blackcomb: Gondola Access + Transfer to Launch
The heart of the experience begins at Whistler Blackcomb. You’ll access the Sasquatch area via the Blackcomb Gondola, then there’s a short van ride to the launch platform.
That van segment matters because it prevents the day from turning into a long hike with heavy gear. But it also means you should be ready for some up-and-down walking while you’re dressed in a helmet and harness.
A practical note from review details: the walk portions may include a bit of incline, and harness-and-gear setup takes some time. Plan for a steady pace, not a sprint.
The Zip: One Cross-Valley Run
Once you’re in position, you zip across the valley. This is the moment that makes people talk. One review highlighted the dramatic drop right at the beginning. Another summed it up as the step off the pad being its own emotional moment, then the view takes over.
Also: you’re zipped long enough to notice the scenery, but not long enough to grow bored. You’ll have a “hold on” second, then it turns into watching the mountains slide by.
Download and Return to Whistler Village
After the zip, you’ll do a short walk to the mid-station on the Whistler Gondola. Then you download to Whistler Village, and your activity ends back at the meeting point area.
That final gondola segment is a nice bookend. You go from peak adrenaline back to the softer rhythm of mountain travel.
Price and Value: What $118.28 Buys You
At $118.28 per person, the obvious question is: is it worth it?
For me, it’s a value play if you care about three things:
1) Getting the right guide attention,
2) Doing it on the longest zipline, and
3) Avoiding a DIY logistics headache.
You’re not just buying a seat on a zipline. You’re paying for the full operation: harness and helmet, a structured route using gondolas, and a transfer system with a professional 4×4 shuttle driver.
The other “value” point is the small group size (max 10 travelers). If you’ve ever done activities where you feel like a number, this is the opposite. You’ll get support while you suit up and before you go.
What’s not included (and you should plan for):
- If you want a camera angle of your own, one review mentioned an extra $45 CAD GoPro rental. That’s optional, but it’s worth knowing if you’re thinking about memories beyond phone video.
Safety: Harness Time, Guide Reassurance, and Real-World Rules
The biggest theme across the feedback is safety, and not in a bland way. People mention that the crew keeps it controlled, explains things clearly, and stays close while you’re getting ready.
That matters because ziplining isn’t only physical—it’s mental. A good guide helps you trust the process, especially if it’s your first time.
In fact, one review specifically praised how a guide calmed a first-timer who was nervous. Another rider called out how the guide kept instructions precise. That’s the kind of reassurance that turns a scary idea into a doable one.
Gear and what you must wear
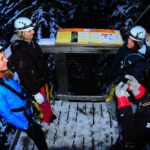
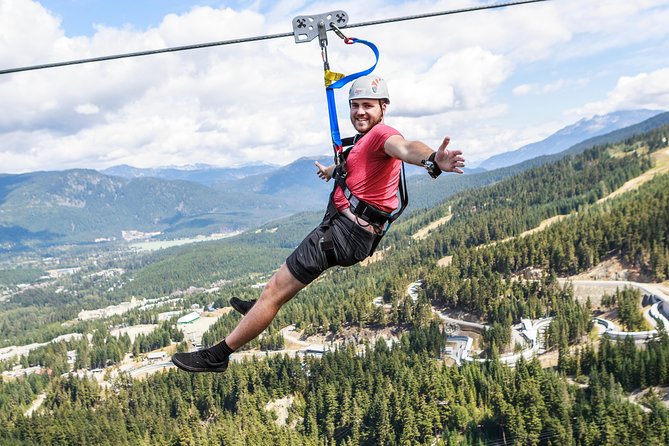
You’ll use a helmet and harness. You’ll also need:
- Closed-toe, secure shoes (no sandals or slip-ons like Crocs/Birkenstocks)
- Eyewear secured if you wear it (the supplier won’t be responsible for lost items)
Also, no bags, purses, or hanging cameras are allowed. So keep valuables simple. If you’re bringing a phone or camera, you’ll want it stowed in a safe way during the ride.
Weight and age limits (important for fit)
These limits aren’t there to be picky—they’re there for safe equipment fit:
- Minimum weight: 75 pounds
- Maximum weight: 275 pounds
- Minimum age: 10
- Riders 10–18 must be accompanied by an adult 19+
If you’re near the edge of weight limits or traveling with a kid who’s anxious, don’t treat it as a guess. Ask questions before you go so everyone can feel confident.
Timing: Why 1 Hour 30 Minutes Still Includes a Full Experience
The tour runs about 1 hour 30 minutes (approx.). That time includes more than the zip. You’re also building in:
- check-in and setup,
- harness/helmet fitting,
- the gondola ride up,
- transfers,
- the zip moment itself,
- then the walk and gondola download back down.
It’s short enough to feel efficient. It’s long enough to feel like a real outing, not just a quick photo op.
And one more reason to book earlier in the day if you can: weather can change operations. The tour states it runs in almost all weather conditions, but if poor weather cancels the activity, you’ll be offered an alternative date or full refund.
The Views You Actually Get (Not Just What the Marketing Says)
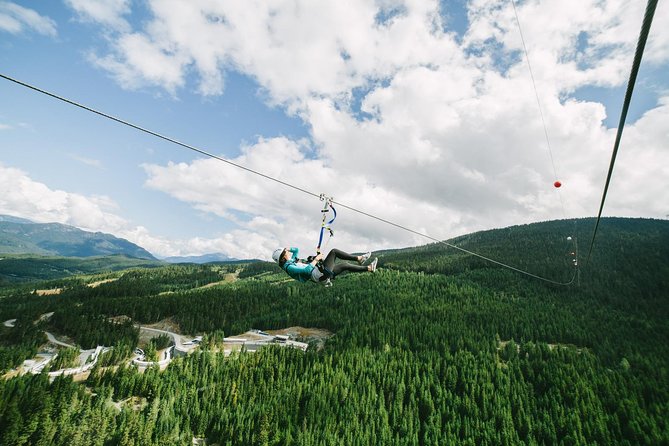
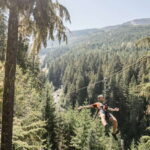
People come to Whistler for mountain scenery. The Sasquatch adds a new angle: you’re looking down a valley while you move fast enough that your brain has to switch from “observe” to “survive for one second,” then back to “okay, wow.”
Several reviews mentioned wildlife sightings around the gondola and walk segments—things like black bear and marmots. You can’t count on seeing animals, but it’s clear the area has a reputation for surprises when you’re up on the slopes.
Also, the gondola ride up plus the gondola return means you’re getting scenery twice—before and after the adrenaline part. If you’re planning a tight Whistler day, this structure is a smart way to pack in big views without extra driving.
Comfort Tips That Make a Real Difference
This isn’t a “show up in whatever” activity. Small choices help.
- Wear grippy, closed-toe shoes you don’t mind getting a little dusty.
- If you wear glasses, bring a secure way to keep them from slipping. The tour specifically notes your eyewear must be secured.
- Keep your stuff minimal: no bags/purses and no hanging cameras.
- If you want photos, consider the GoPro rental option mentioned in reviews, since the ride moves fast and you’ll be busy during the moment.
And yes, people report some walking and a bit of uphill while you’re in gear. So treat it like light activity, not total couch mode.
Who Should Book This Zipline (and Who Might Think Twice)
This tour is a strong match if:
- you want a high-impact thrill without doing lots of planning,
- you like guided safety and clear instructions,
- you’re okay with being active for a short time (gear on, walking portions, gondola rides),
- you’re traveling with teens who meet the age rules and an adult who can accompany.
It’s also a good pick for couples. The short, structured loop makes it easy to keep the day moving, and the experience feels shared in a way that’s hard to replicate on your own.
You might hesitate if:
- you’re very sensitive to heights and need longer mental ramp-up (a good guide can help, but the moment is still intense),
- your group has mobility challenges that make walking with gear hard (you can still ask about what support is possible, but you should know there can be walking segments),
- or you’re traveling on a day when gondola weather disruptions are possible and you can’t flex plans.
One review even described the staff going above-and-beyond when a guest had knee/ankle issues and ended up with a private guide and ATV help to reach the gondola. That’s not something you should assume will happen for every situation, but it does suggest the team can adapt when needed.
Should You Book the Whistler Sasquatch Zipline?
If you’re in Whistler and you want one activity that delivers big views and a proper thrill—this is a very strong yes.
Book it if you want:
- the longest zipline in Canada experience,
- a small group with close guidance,
- an efficient gondola-to-zip-to-village route,
- and a team that takes safety seriously.
I’d only delay or reconsider if your schedule is extremely tight and you can’t absorb a possible weather hiccup. Even though the tour aims to run in almost all weather, mountain operations can change.
If you can handle a short burst of adrenaline and follow the simple safety rules (shoes, eyewear, no bags), you’ll likely come away feeling like you did one of the most memorable mountain things in the region.