REVIEW · PALAWAN
El Nido Palawan Zipline Two Way
Book on Viator →Operated by El Nido Adventure Tours · Bookable on Viator
One cable. Two islands. A view you can’t “scroll past.” This zipline run in El Nido, Palawan puts you up over crystal-clear water and dramatic limestone cliffs, so the whole experience feels like aerial sightseeing with a safety briefing before the fun. You also get different riding styles, including a Superman-style face-forward position.
My favorite part is how the ride changes your perspective. Looking down at the sea while you glide between islands is the main reason this is a solid pick for thrill-seekers and nature lovers. I also like that safety gear is included, which makes it feel straightforward rather than sketchy.
One drawback to plan around: the operation can get affected by conditions and crowds, and you may deal with strict line rules. That means your booked time may shift, and sometimes you might not get exactly the ride you expected.
In This Review
- Key things to know before you hook in
- Zipline Over El Nido’s Islands: What You Actually Ride
- Getting There and the Short Climb Before the Launch
- Time Slots, Wind, and Why Your Wait May Surprise You
- Solo or Tandem, Seated or Superman: Choosing Your Riding Style
- The Photos Add-On Reality: Worth It, But Plan for Delays
- Gear, Comfort, and the Stuff You Can Control
- Price and Value: Is $32 a Smart Use of Time?
- Should You Book El Nido Palawan Zipline Two Way?
- FAQ
- How long is the zipline experience?
- Where does the tour start and end?
- What’s included in the ticket price?
- Do I ride solo or with a partner?
- What riding positions are offered?
- Is the activity okay for most travelers?
- What should I plan for if I’m in a hurry?
- What happens if weather isn’t good?
Key things to know before you hook in
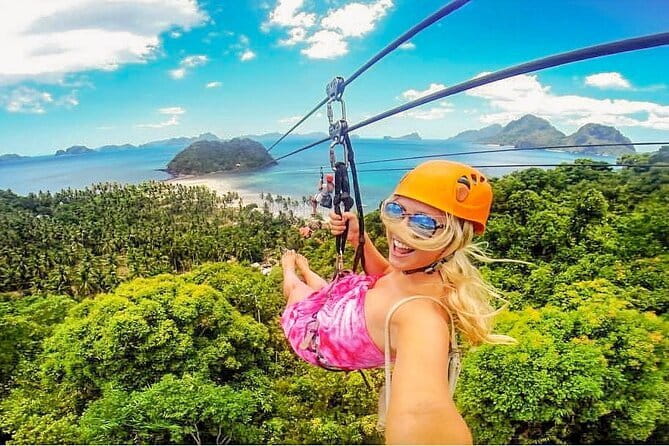
- Two islands, aerial views: The line runs between islands, so you get sea-and-cliff scenery for the whole glide.
- Solo or tandem: You can ride on your own or with a friend, which changes the vibe from calm to shared adrenaline.
- Multiple positions: You can choose seated or a face-forward Superman-style ride for a more “flying” feeling.
- A short hike before you fly: Expect a light trek to reach the start platform.
- Queues can matter more than time slots: If others are waiting ahead of you, your start may slide.
- Extra photo costs are common: There are paid photo/video options on site, but they’re not included in your ticket.
Zipline Over El Nido’s Islands: What You Actually Ride
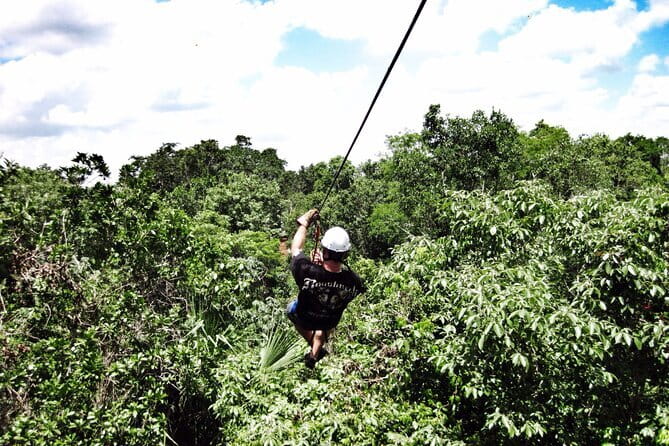
This is a classic “mountain to sea” zipline experience, but the payoff is visual. The zipline sits above El Nido’s striking coastline—turquoise water under you and tall limestone cliffs on either side during parts of the ride. Even if you’ve done ziplines elsewhere, the way the line frames islands and water makes it feel more like flying over a postcard than just getting strapped to a cable.
The ride itself is about the glide and the angle. Because the zipline runs between two islands, you’re not just looking at one direction the whole time—you’re getting a changing view as the line crosses open water and cliffy coastline. That matters when you’re choosing between activities in El Nido: this one is built around a single, focused “wow moment,” not a long series of stops.
Most people can participate. The activity is designed to be accessible for a wide range of ages and fitness levels, with the main physical requirement being that short hike to the launch area.
Getting There and the Short Climb Before the Launch
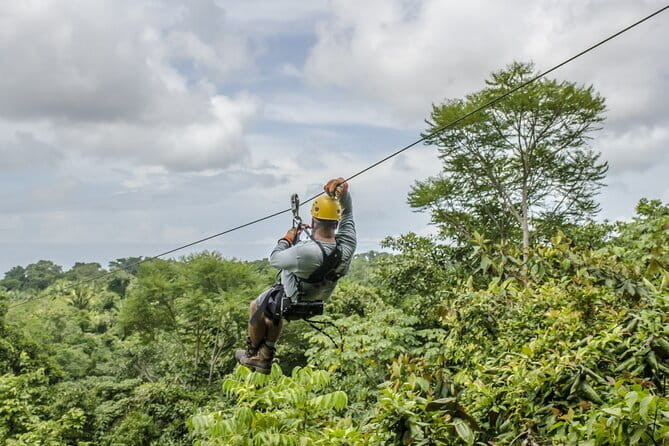
Your start point is El Nido Zipline – Palawan Zipline Adventure Inc. in El Nido. The activity ends back at the same meeting point. From there, you’ll do a small trek to reach the starting area. It’s not described as a major hike, but it is enough to matter if you hate steep steps or you’re traveling with limited mobility.
Also, plan your approach like it’s an attraction with a line. The site is near public transportation, which helps, but the biggest time variable is what happens once you arrive—if people are ahead of you, your schedule can stretch.
My practical advice: wear grippy footwear and avoid anything slippery. The ride is only about 1 hour total time on site (approx.), but the “getting ready and waiting” part is where your comfort matters.
Time Slots, Wind, and Why Your Wait May Surprise You
Even though you’ll book a specific ride window, you should assume delays can happen. The schedule may be delayed if there are other riders waiting ahead of you, and you’re advised to arrive about 30 minutes early.
Here’s the part that can change the experience: wind and conditions can affect which ride option is possible. This is a zipline, not a theme park on rails. If wind conditions aren’t ideal, the operation can shift. In practice, that means you could arrive expecting a two-way experience and find that conditions limit what’s running.
Then there’s the crowd factor. With a maximum of 99 travelers, the site can get busy fast. Some days you’ll go quickly; other days you’ll be sitting and waiting while groups cycle through. If you have a flight or a strict agenda, don’t schedule this right down to the minute. Build in a buffer.
If you hate uncertainty, your best strategy is simple: go early in the day when the line usually has fewer bottlenecks. And if you’re planning a special photo/video add-on, be ready that your ride time and download timing may depend on the day’s flow.
Solo or Tandem, Seated or Superman: Choosing Your Riding Style
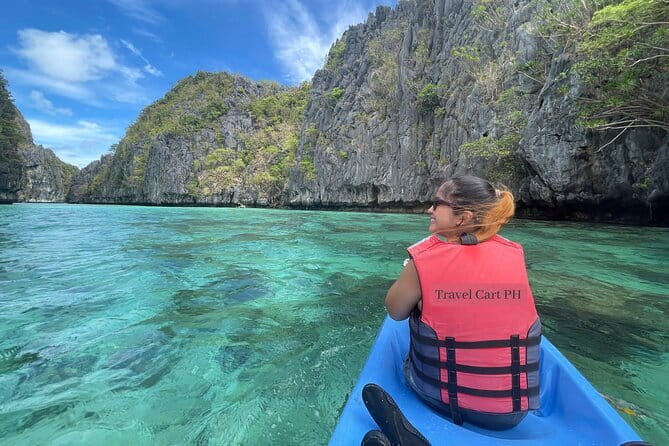
Once you check in, you’ll get safety gear and a briefing. From there, you’ll choose how you want to ride.
You can ride:
- Solo (on your own)
- Tandem (with a friend)
That choice is about more than preference. Tandem can be more fun if you want to share the moment and keep each other calm. Solo can feel more intense—less conversation, more focusing on the glide.
Then there’s the position choice:
- Seated
- Superman-style, facing forward and down, with a more “flying” feel during the descent
The Superman position tends to be the crowd favorite because it gives you the most unobstructed feeling of speed and direction. If you’re aiming for photos, this is also the position that’s easiest to spot clearly from the side—so it can help make your images look more dramatic.
My tip: listen carefully to the staff’s setup instructions. Small adjustments—how you hold the harness area and where you place your hands—can affect both comfort and how confident you feel mid-ride.
The Photos Add-On Reality: Worth It, But Plan for Delays

A big part of why people love this zipline is getting the shot. You’ll likely see options for paid photos and videos, and you may be encouraged to purchase them on site.
One common pattern I’d plan around:
- There are photo packages sold at the activity.
- Photos are sometimes delivered later (for example via messaging apps).
- If something goes wrong with delivery, it can be hard to fix quickly on the ground.
The good news is that the ride is made for action shots—especially with the Superman position and open views over the sea. The caution is timing. Don’t assume instant delivery.
Also, protect your phone. I’ve seen clear advice from people doing this type of activity to keep your phone safely in a bag. If you want to record, consider an action camera rather than trying to keep a phone in hand during the ride.
If you care about photos, you’ll get the best results when you can pay attention to the ride setup and keep your gear secure.
Gear, Comfort, and the Stuff You Can Control
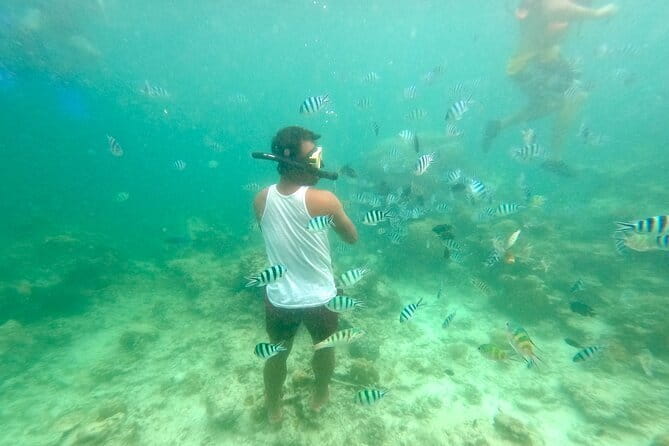
The only thing included in your ticket is safety gear. That’s a good sign: the operator is focused on the basics—harness, helmet, and the safety checks you need before you fly.
But there’s still plenty you can control for comfort:
- Wear clothing you don’t mind getting a bit “zipline day” messy.
- Avoid strong perfumes if you’re sensitive to helmet smell or reused materials (I’ve learned to be mindful of hygiene at places that use shared safety equipment).
- If you’re sensitive to odors, ask how they handle cleaning between riders.
This matters because you’ll be wearing the same gear for the brief time before and after your ride, and the comfort factor can make or break your memory of the day.
Another practical point: if you’re prone to waiting fatigue, bring something small to pass the time. The zipline itself is short, but your time on site can stretch when crowds stack up.
Price and Value: Is $32 a Smart Use of Time?

At $32, this is positioned as an affordable adrenaline hit compared to many “premium view” adventures in Palawan. The value comes from two things you can feel immediately:
- You get a major visual payoff—the sea and cliffs from above.
- Your ticket includes safety gear and a ride experience that’s about one hour on site.
Where value can wobble is when expectations and operations don’t match. If winds limit which ride direction you get, or if crowds force long waits, your $32 can feel less “cheap” and more like you paid for uncertainty.
So here’s how I’d decide:
- Book if you want a high-impact view and you’re okay with possible waiting.
- Think twice if you’re on a tight schedule or you’re counting on a specific two-way sequence without flexibility.
If you’re traveling with extra money for photos, factor that into your budget too. The zipline may be affordable, but add-ons can raise the total.
Should You Book El Nido Palawan Zipline Two Way?
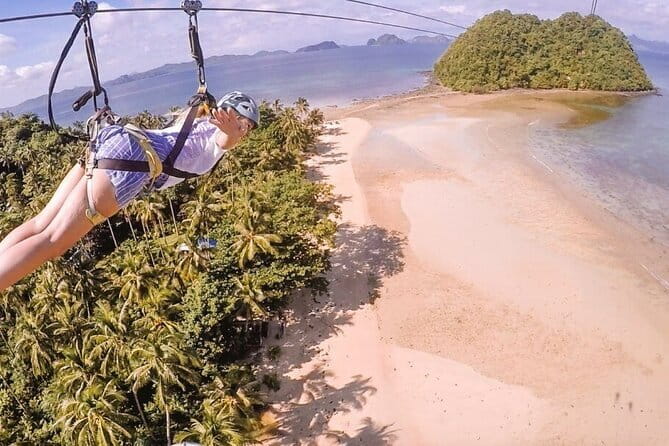
I think you should book if you fit the vibe: you want quick, memorable thrills, you like being above the water, and you can handle a bit of line uncertainty. The scenery is the real star here—island-to-island views with Superman-style options make it more than a standard zipline.
Skip or at least plan extra carefully if:
- You have a very tight flight or ferry timeline.
- You’re expecting the exact two-way timing to be guaranteed no matter what.
- You get stressed by queues and “first come” rules.
If you do book, my best practical advice is to show up early, keep your phone protected, and mentally budget for a wait. Treat it like an outdoor adventure with variables, not like a perfectly timed train.
FAQ
How long is the zipline experience?
It’s listed as about 1 hour total (approx.). That includes getting set up, riding, and getting back to the meeting point.
Where does the tour start and end?
The experience starts at El Nido Zipline – Palawan Zipline Adventure Inc., El Nido, Palawan, Philippines. It ends back at the same meeting point.
What’s included in the ticket price?
Safety gear for the activity is included.
Do I ride solo or with a partner?
You can choose either solo or tandem with a friend, depending on the options available for your ride.
What riding positions are offered?
You can ride seated or in a Superman-style position, facing forward/down for a flying feeling during the descent.
Is the activity okay for most travelers?
Yes. It’s described as suitable for most age groups and fitness levels.
What should I plan for if I’m in a hurry?
The schedule may be delayed if others are waiting ahead of you. You’re advised to arrive about 30 minutes early to reduce the risk of missing your slot.
What happens if weather isn’t good?
The experience requires good weather. If it’s canceled due to poor weather, you’ll be offered a different date or a full refund.