REVIEW · PALAWAN
El Nido Palawan Zipline One Way
Book on Viator →Operated by El Nido Adventure Tours · Bookable on Viator
A quick zipline run can be surprisingly memorable here. The El Nido Palawan Zipline One Way experience gives you sky-high views over crystal-clear water and dramatic limestone cliffs, and the Superman-style option makes it feel more like flight than a basic ride. I love how the scenery does the heavy lifting, and I love that you can choose how you sit or fly. One thing to consider: the schedule can slip if there’s a line ahead of you.
This is also a simple adventure format: safety gear and a guide are included, and the whole activity runs about 1 hour from start to finish at the meeting point. You’ll do a short hike to reach the platform, then glide between islands for an aerial look you can’t get from the beach. If you hate waiting around, plan for some downtime and show up early, because the timing can be delayed when others are getting ready.
In This Review
- Key Takeaways Before You Zip Over El Nido
- Why This El Nido Zipline Feels Different From a Beach Tour
- Getting There and Timing: The 30-Minute Rule
- The Ride Itself: Two Islands, One Short Flight
- Superman-Style vs Seated: Choose the Feel You Want
- The Small Hike to the Start Platform (And What It Means)
- Safety Gear and the Role of the Guide
- Price and Value: Is $24 a Good Deal Here?
- Weather, Delays, and the Reality of Waiting in Line
- Who This El Nido Zipline Fits Best
- My Booking Call: Should You Book El Nido Palawan Zipline One Way?
- FAQ
- How long is the El Nido Palawan Zipline One Way activity?
- Where does the zipline start and end?
- What is included in the tour?
- What are the main ride options?
- Do I need to hike before the ride?
- Will the ride time always run exactly as scheduled?
- What time should I arrive?
- Is weather a factor?
- What’s the price?
- Is there a limit on group size?
Key Takeaways Before You Zip Over El Nido
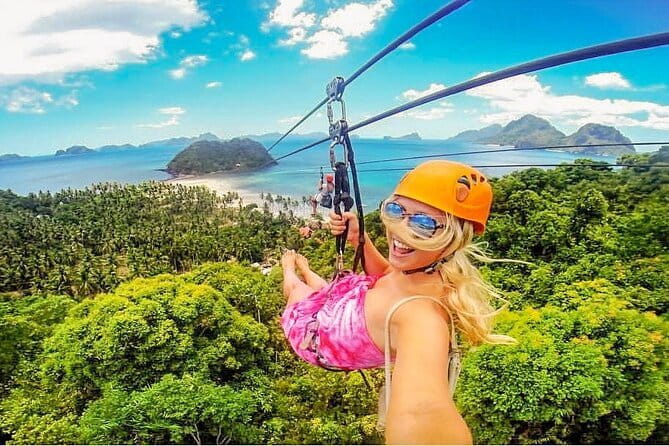
- Two-island route: the ride crosses between islands for open sea views
- Superman and seated positions: pick your style for different sightlines
- Short hike to the start: light trekking before the main event
- Guide + safety gear included: you’re not figuring it out solo
- Timing can run late: schedule may delay due to riders ahead
- Limited group size: capped at a maximum of 99 travelers
Why This El Nido Zipline Feels Different From a Beach Tour
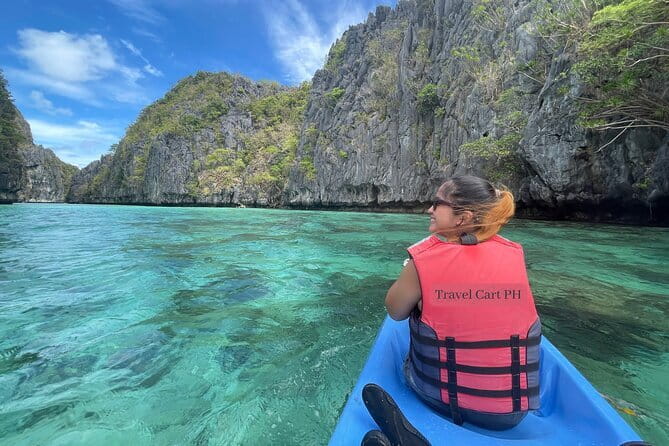
If you’re doing El Nido for the water and limestone cliffs, this zipline is a smart way to change your angle without adding a whole day of travel. From above, the coastline reads differently—watching the sea stretch out between cliff lines is the kind of perspective that makes photos look less like snapshots and more like a view.
What I like most is how much of the experience is built around the setting. You’re not just hanging onto a harness and hoping for a nice ride; you’re gliding over clear water with dramatic cliffs below you. That’s why it works for people who are thrill-seekers and for people who just want a fun adrenaline break.
The ride itself has options, too. You can choose to ride solo or tandem with a friend, and you can pick positions such as seated or Superman-style, facing down and forward. That small choice changes the feel of the descent, especially if you want the best unobstructed view.
Getting There and Timing: The 30-Minute Rule
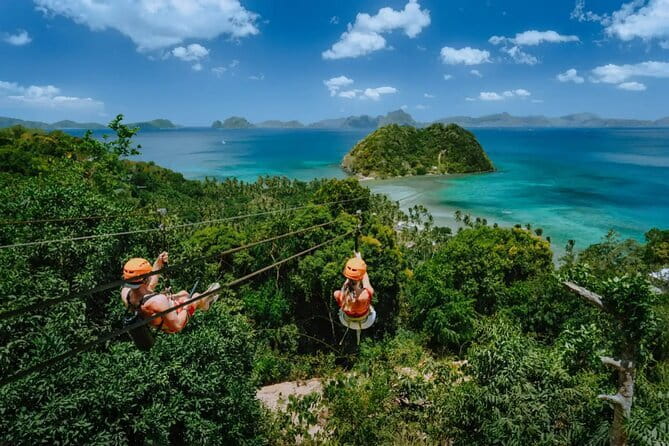
The activity starts at El Nido Zipline – Palawan Zipline Adventure Inc., El Nido, Palawan, Philippines, and it ends back at the same meeting point. That simple loop matters because it keeps the logistics easy—no confusing transfers after you land.
Here’s the practical part: the riding schedule may be delayed if others are waiting ahead of you. Even if you have a booked time, you should expect that the line and batching of riders can stretch your day.
Because of that, I strongly recommend arriving 30 minutes ahead of your scheduled slot. Not as a suggestion for fun—more like a way to avoid stress. With delays possible, extra time helps you feel in control instead of rushed.
Also note: confirmation is received at the time of booking, and the tour uses a mobile ticket. If your phone battery is already running low during your day in El Nido, charge it before you go.
The Ride Itself: Two Islands, One Short Flight
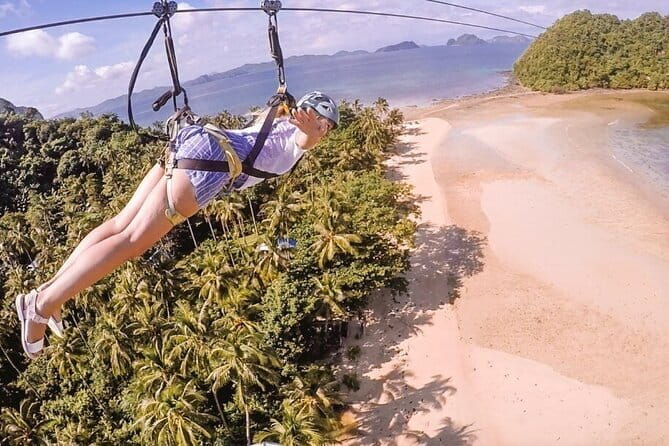
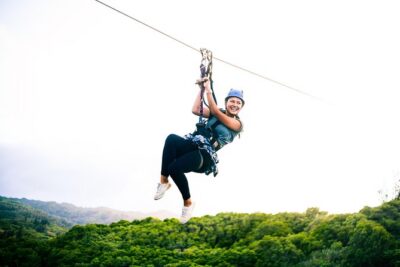
The zipline runs between two islands, so you get a true “crossing” feeling rather than a quick line in one direction and back immediately. The reward is the aerial view of the sea and the surrounding cliffs—exactly the kind of perspective you can’t recreate from a viewpoint on foot.
The total experience is about 1 hour (approx.), which makes this a good fit for people who don’t want an all-day commitment. You’re likely spending part of that hour getting to the platform, checking in, getting briefed, and then waiting for your turn.
Because it’s a one-hour activity, it’s also easier to build into an itinerary day. You can still do lunch, explore a beach, or move on to another activity afterward—assuming you leave enough buffer for the potential line delays.
Superman-Style vs Seated: Choose the Feel You Want
This zipline is appealing because it gives you more than one way to ride. If you’re the type who wants maximum thrill, Superman-style is the standout option. You face down and forward, mimicking the flying pose, and that body position can give you an unobstructed view during the descent.
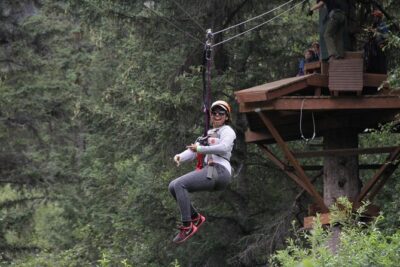
If you’re more cautious or just want a calmer ride, you can choose seated. Seated is often the “I want to enjoy the view without thinking too hard about the form” option. Either way, the fact that the positions are offered means you’re not locked into a single experience.
You can also choose solo or tandem:
- Solo: control your comfort level and timing in your own space
- Tandem: share the ride with a friend, which can make the first seconds less intimidating
I like that you’re able to decide what matters to you: more thrill, more comfort, or a shared moment.
The Small Hike to the Start Platform (And What It Means)
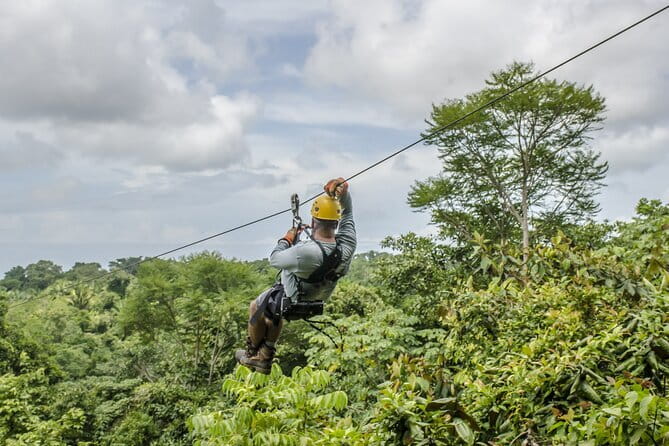
A small hike is required to reach the zipline starting point. This isn’t pitched as a full trekking day, but it does mean you should treat the start like an active portion of the experience, not a flat walk.
Why that matters: if you show up in flip-flops or shoes you wouldn’t trust on uneven ground, you’ll feel it right before you’re about to do something adrenaline-heavy. The hike also adds a bit of “warm-up” before the main ride, which can help you settle into the day.
Fitness level-wise, the activity is described as suitable for most travelers. Still, if you’re dealing with mobility issues, this is where you’d want to consider how the short hike fits your comfort.
Safety Gear and the Role of the Guide
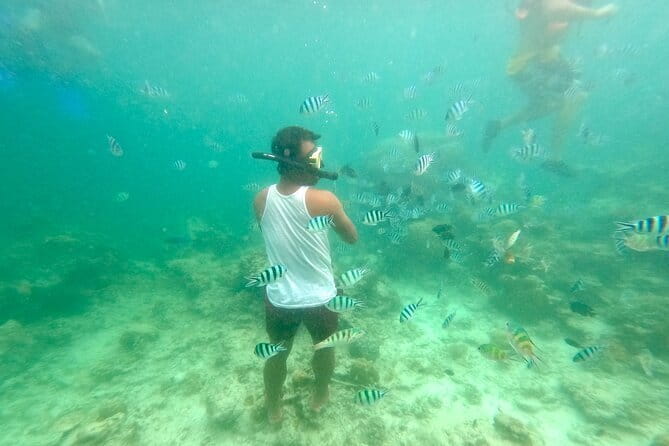
Safety gears and a guide are included. That’s a big deal for a zipline, because it means the setup doesn’t rely on you guessing how things work. A guide also supports the process when riders are lined up—especially important when you may be waiting while others go first.
Since the ride includes different positions and solo/tandem choices, having a guide matters for helping you get ready quickly and correctly. Even if you’re comfortable with adventure activities, it’s reassuring when the hard part is handled by someone trained for it.
One more practical note: because the schedule can be delayed, you might spend time in the check-in or staging area. When you’re waiting, it helps to listen carefully to instructions so you’re ready to move as soon as your turn comes.
Price and Value: Is $24 a Good Deal Here?

The price listed is $24, and the duration is around 1 hour. For an activity that includes safety gear and a guide, that’s a straightforward value proposition—no long transportation day needed, and you’re paying for a specific, time-bound thrill over a very scenic stretch.
That said, here’s the part I think you should pay attention to: some booking experiences can be priced higher than the zipline’s actual cost. I’d treat this as a simple checklist item—compare what you’re paying at checkout with what you expect the zipline operator rate to be. If the quote looks double, pause and verify you’re not overpaying through a reseller.
Also, the main variable that affects your overall value isn’t the price—it’s time. If you’re stuck waiting for a slot, the “one hour” feeling may turn into a longer block of your day. Arriving early helps you manage that.
Weather, Delays, and the Reality of Waiting in Line

This experience requires good weather. If conditions are poor, it can be canceled and you’ll be offered a different date or a full refund. That’s the right approach for a zipline—weather directly affects safety and ride feasibility.
Even with good weather, the schedule can still be delayed if riders are ahead of you. The experience has a maximum group size of 99 travelers, which is large enough that you may see batching at different times rather than a perfect one-person flow.
So what should you do as a traveler?
- Build in a bit of patience if your slot slips
- Arrive early to reduce your waiting stress
- Keep your plan flexible for that day since weather can also shift things
The good news: once you’re on the platform, the actual ride is short and built around a clear route between islands. The wait is the main uncertainty; the core activity is consistent.
Who This El Nido Zipline Fits Best
This is a strong pick if you want:
- A thrill that doesn’t take all day
- Big views from above limestone cliffs and clear water
- Choice in the ride style (solo/tandem, seated/Superman)
It’s also a fit for people who like structured activities. With safety gear and a guide included, you’re not wandering around trying to figure out the next step.
If you’re with a friend, tandem can add fun because you’re facing the moment together. If you’re alone, solo gives you control over your comfort and timing.
If you’re very sensitive to waiting, or you dislike any hike component at the start, you may feel the stress more than you enjoy the ride. Still, the activity is described as suitable for most travelers, so it’s not framed as extreme—just active enough to be real.
My Booking Call: Should You Book El Nido Palawan Zipline One Way?
Yes, I’d book it if you’re in El Nido for the scenery and want a quick adrenaline hit with a real aerial payoff. The combination of two-island views, the option for Superman-style riding, and included safety gear makes it a smart, efficient adventure.
I’d also book with your eyes open: arrive early because the schedule can delay with riders ahead, and check pricing carefully if you’re using a third-party checkout. With weather-needed operations, plan for the possibility of a reschedule.
If your goal is a memorable El Nido moment that fits neatly into a day, this is one of the most direct ways to get it.
FAQ
How long is the El Nido Palawan Zipline One Way activity?
It’s listed as approximately 1 hour.
Where does the zipline start and end?
The activity starts at El Nido Zipline – Palawan Zipline Adventure Inc., El Nido, Palawan, Philippines, and ends back at the meeting point.
What is included in the tour?
Safety gear for the activity and a guide are included.
What are the main ride options?
You can ride solo or tandem with a friend, and you can ride in different positions such as seated or Superman-style.
Do I need to hike before the ride?
Yes. The starting point is usually reached by a small hike.
Will the ride time always run exactly as scheduled?
Not always. The riding schedule may be delayed if there are others waiting ahead of you in line.
What time should I arrive?
You’re advised to arrive 30 minutes ahead of your scheduled zipline ride.
Is weather a factor?
Yes. The experience requires good weather, and if it’s canceled due to poor weather, you’ll be offered a different date or a full refund.
What’s the price?
The price is $24.
Is there a limit on group size?
Yes. The activity has a maximum of 99 travelers.
If you tell me what day you’re considering and whether you’re booking directly or through a reseller, I can help you think through the best timing strategy.